Unit and Owner Management
This section in the HOA module is accessible only to HOA bodies (board, audit committee). Correct unit setup and the owners assigned to them is essential for legitimate quorum calculations in votes and meetings.
1. Importing and Adding Units
Units can be added to the system in three ways:
- Import from the Real Estate Registry (Recommended): Loads the list of units and their ownership shares from the registry free of charge when the building is created.
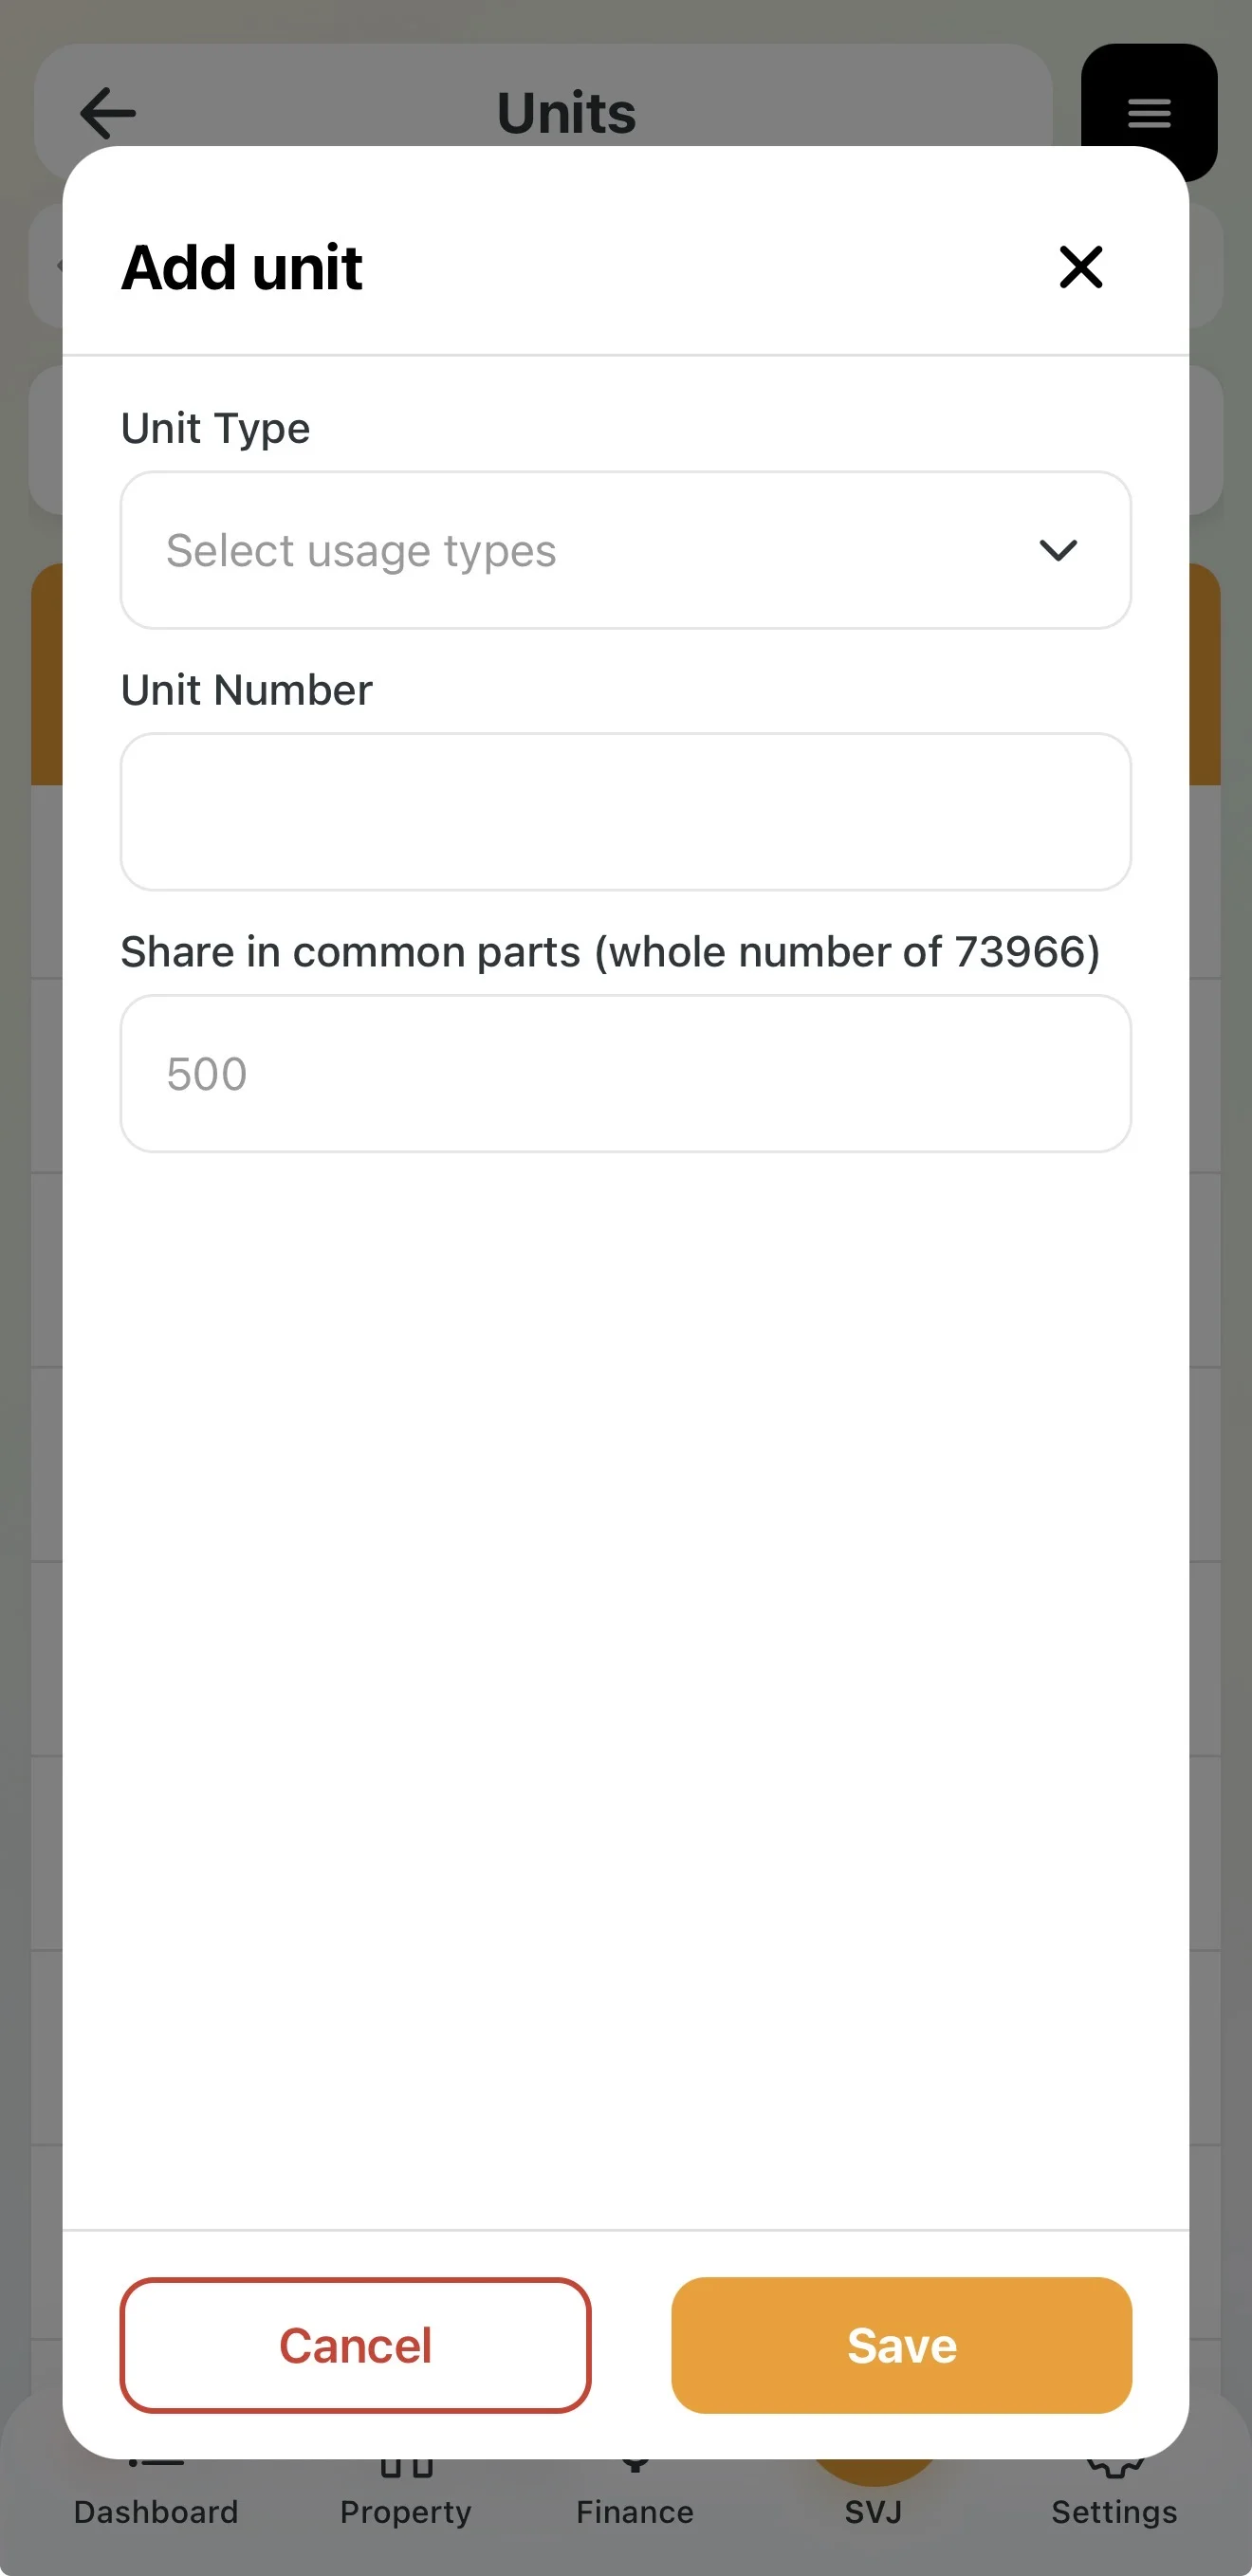
- Manual addition: For newly created spaces or database corrections, tap + Add.
Steps for manually adding a unit
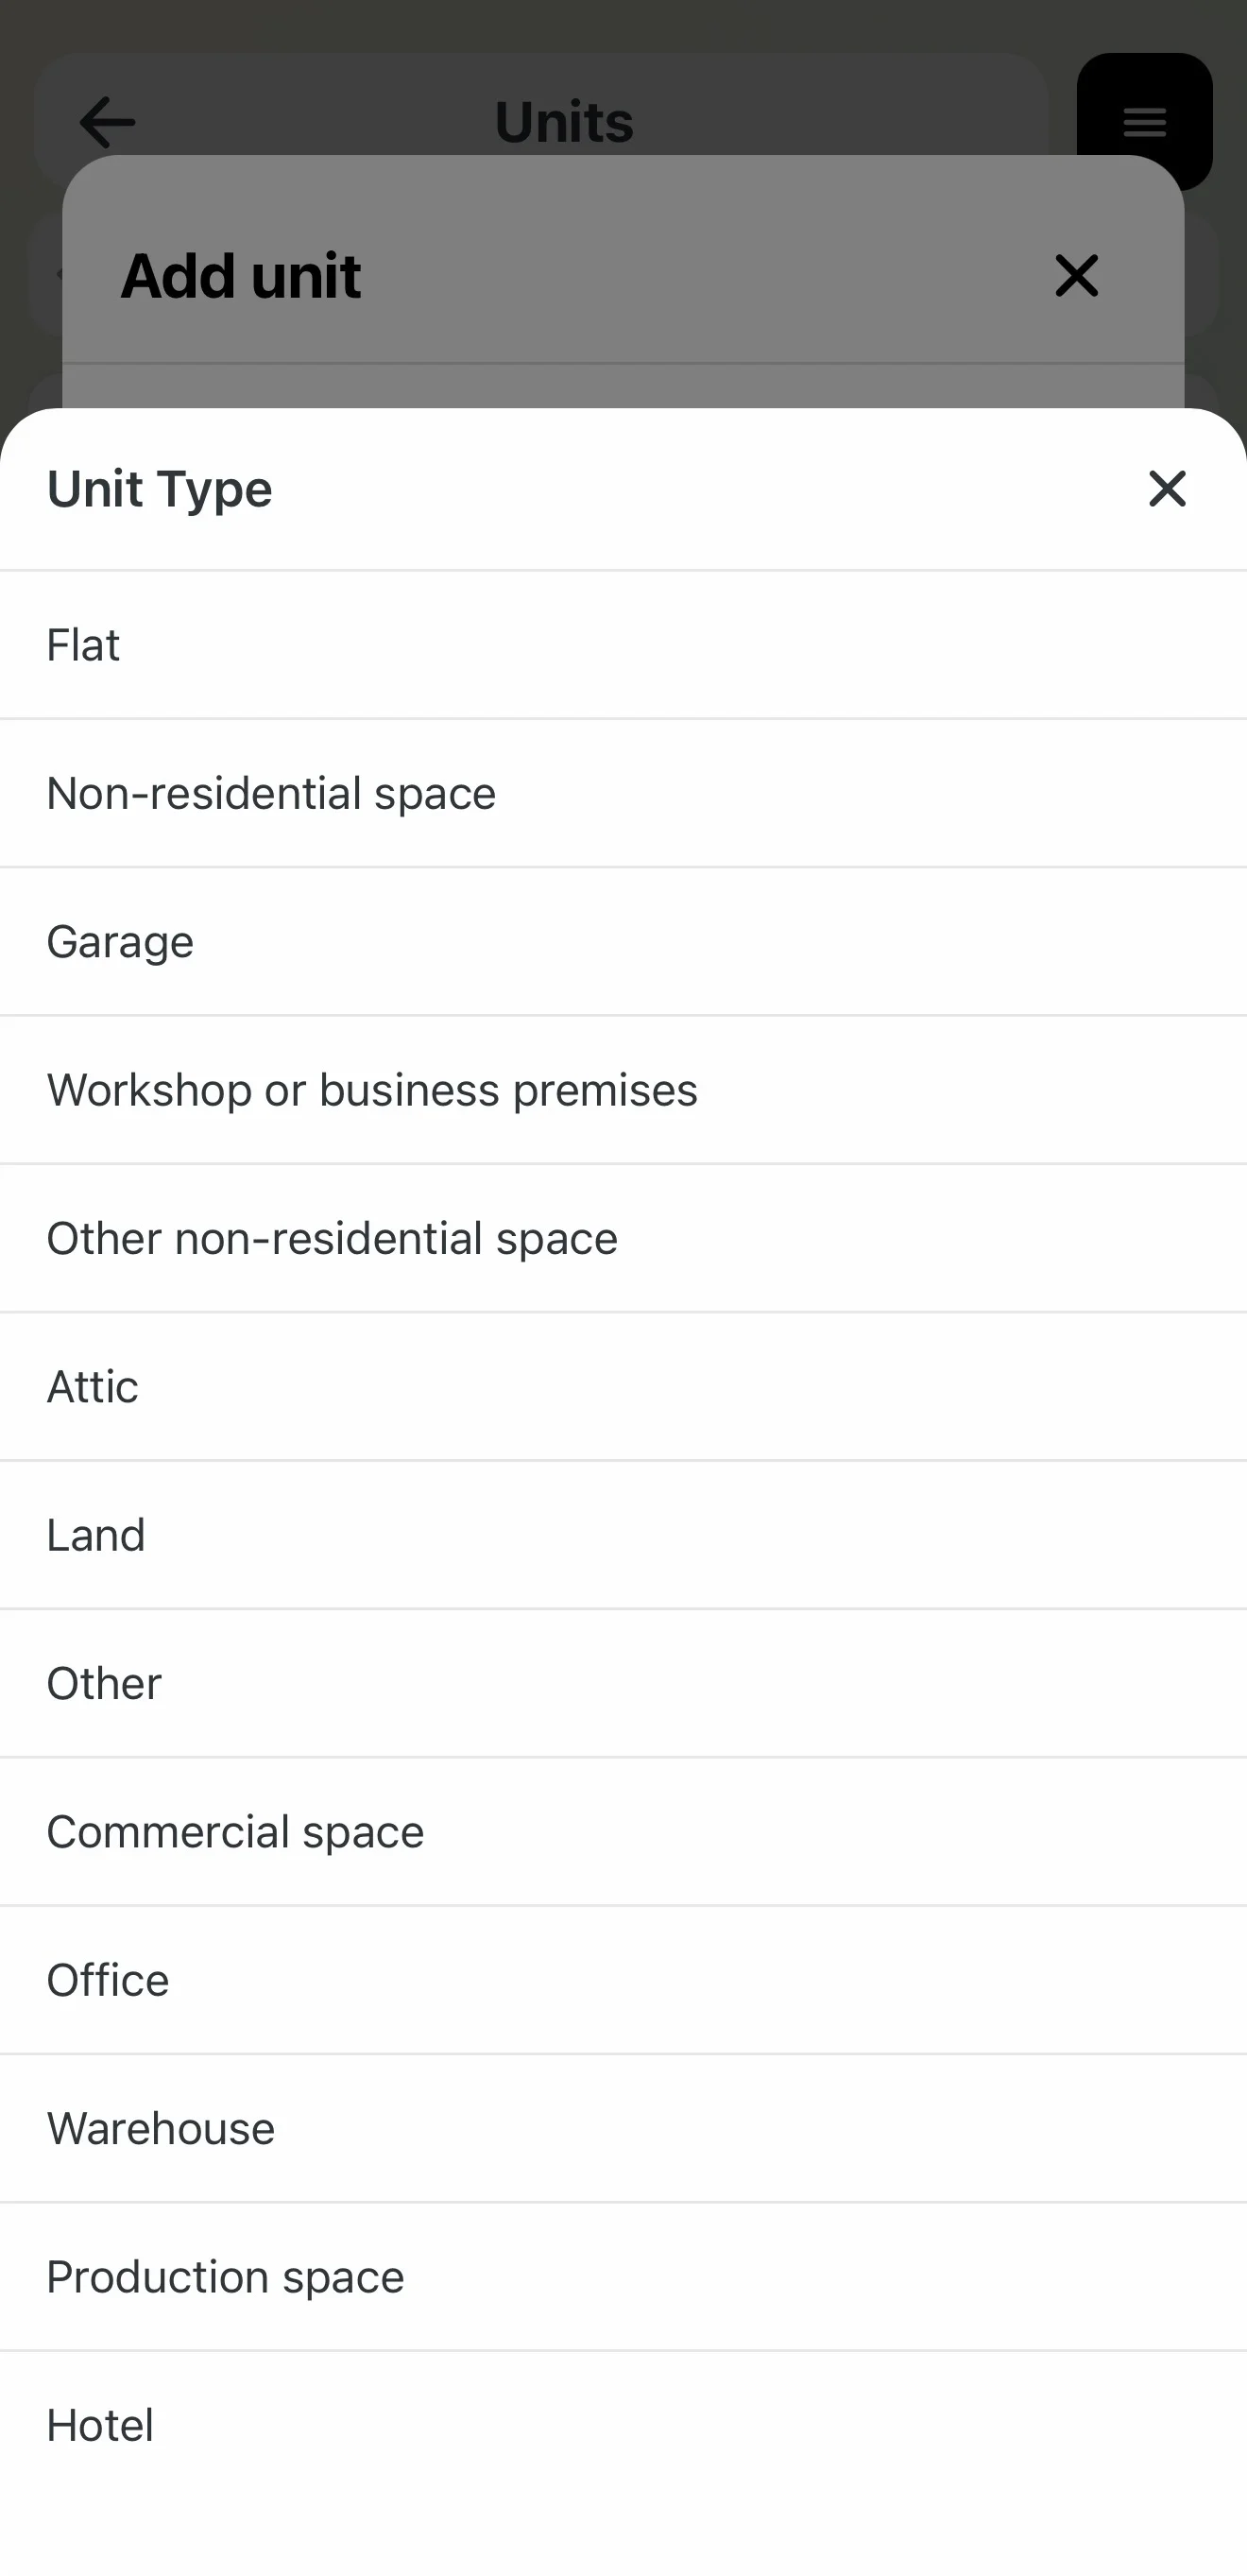
- Type selection: Choose the intended use (Apartment, Garage, Non-residential, Attic, Land, etc.).
- Identification: Enter the unit number (registration/orientation number).
- Share: Enter the numerator of the share. The app shows the total sum of shares in the building (denominator) in brackets.
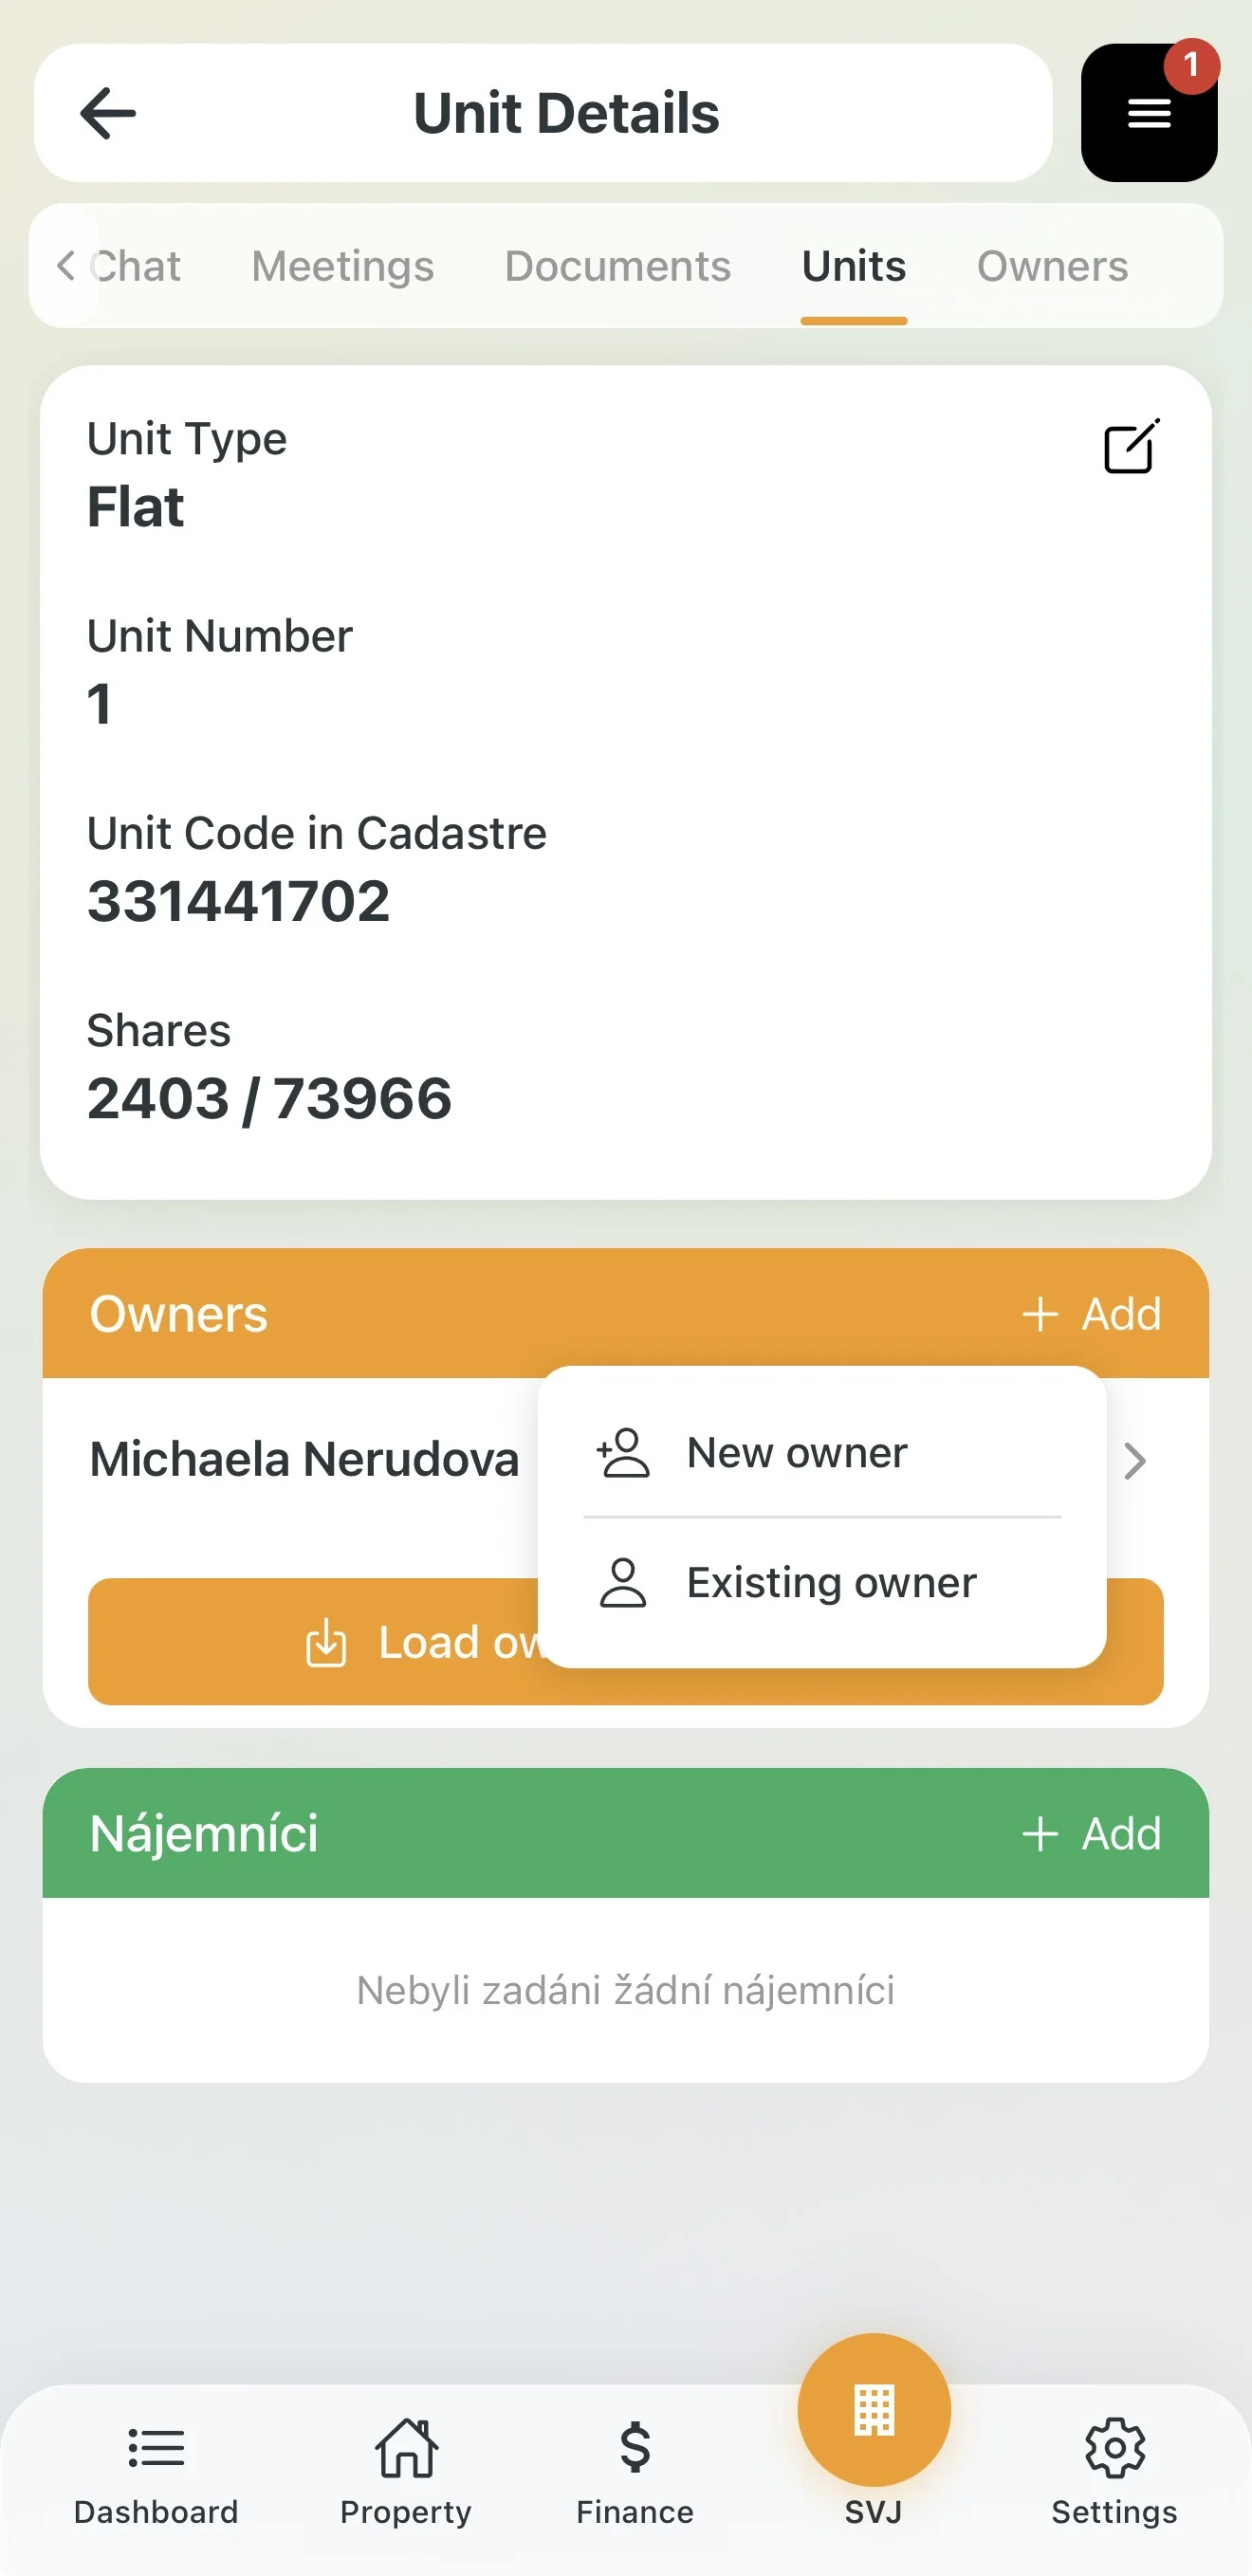
- Save: The unit appears in the list with an orange exclamation mark as "Unassigned user".
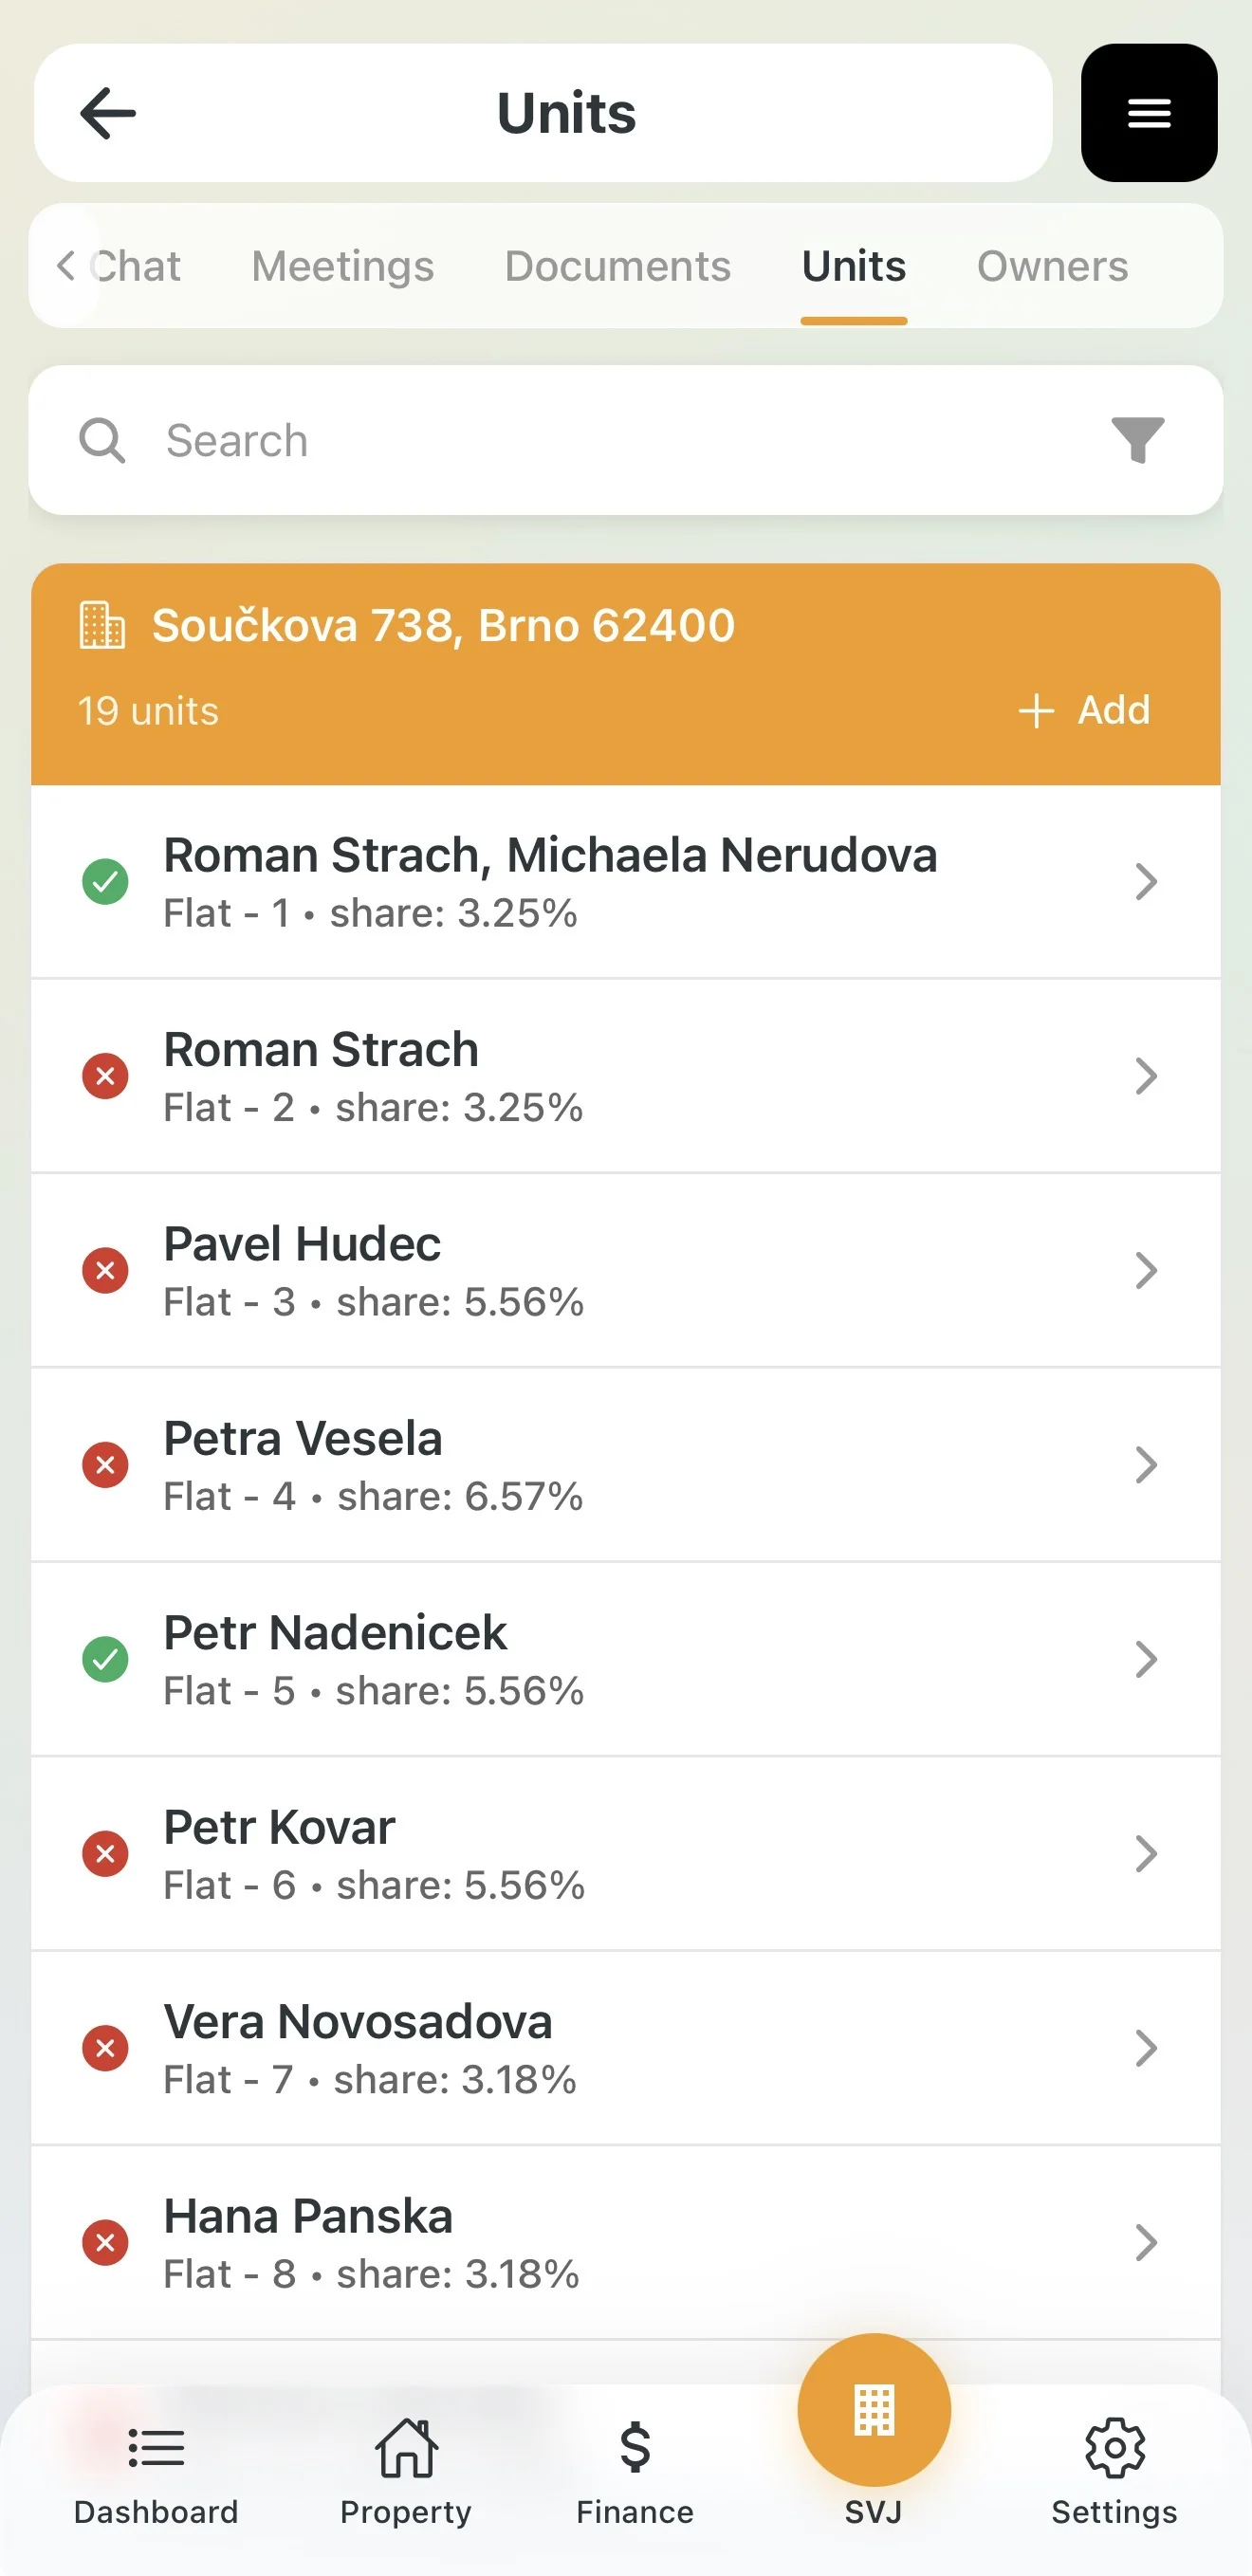
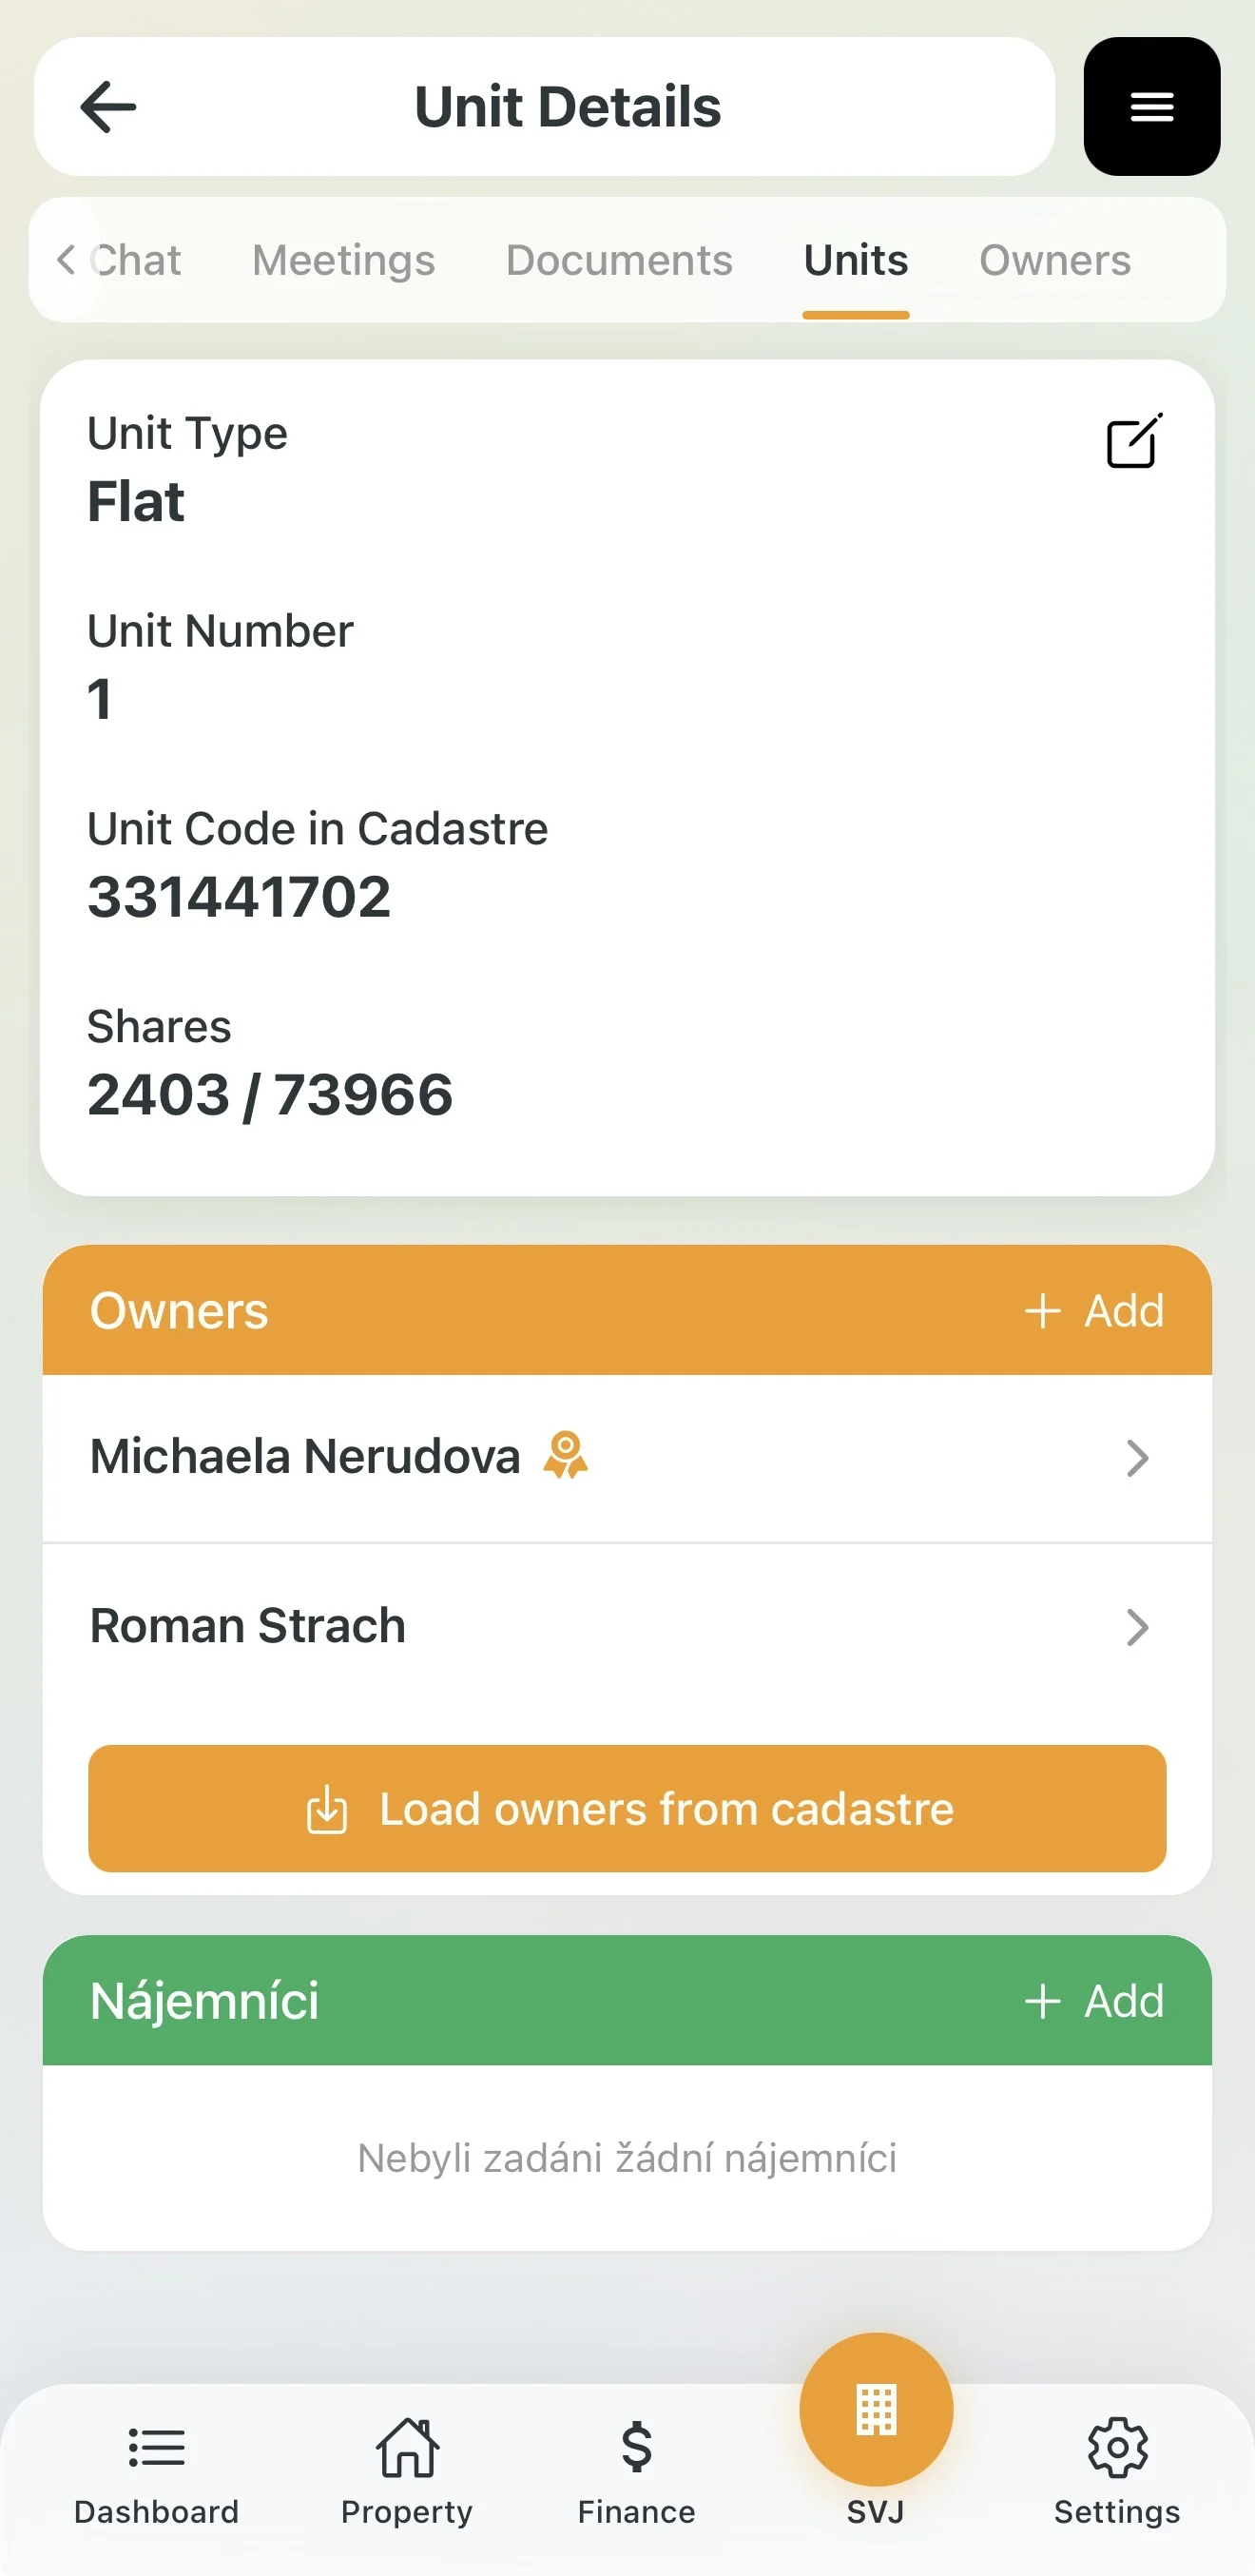
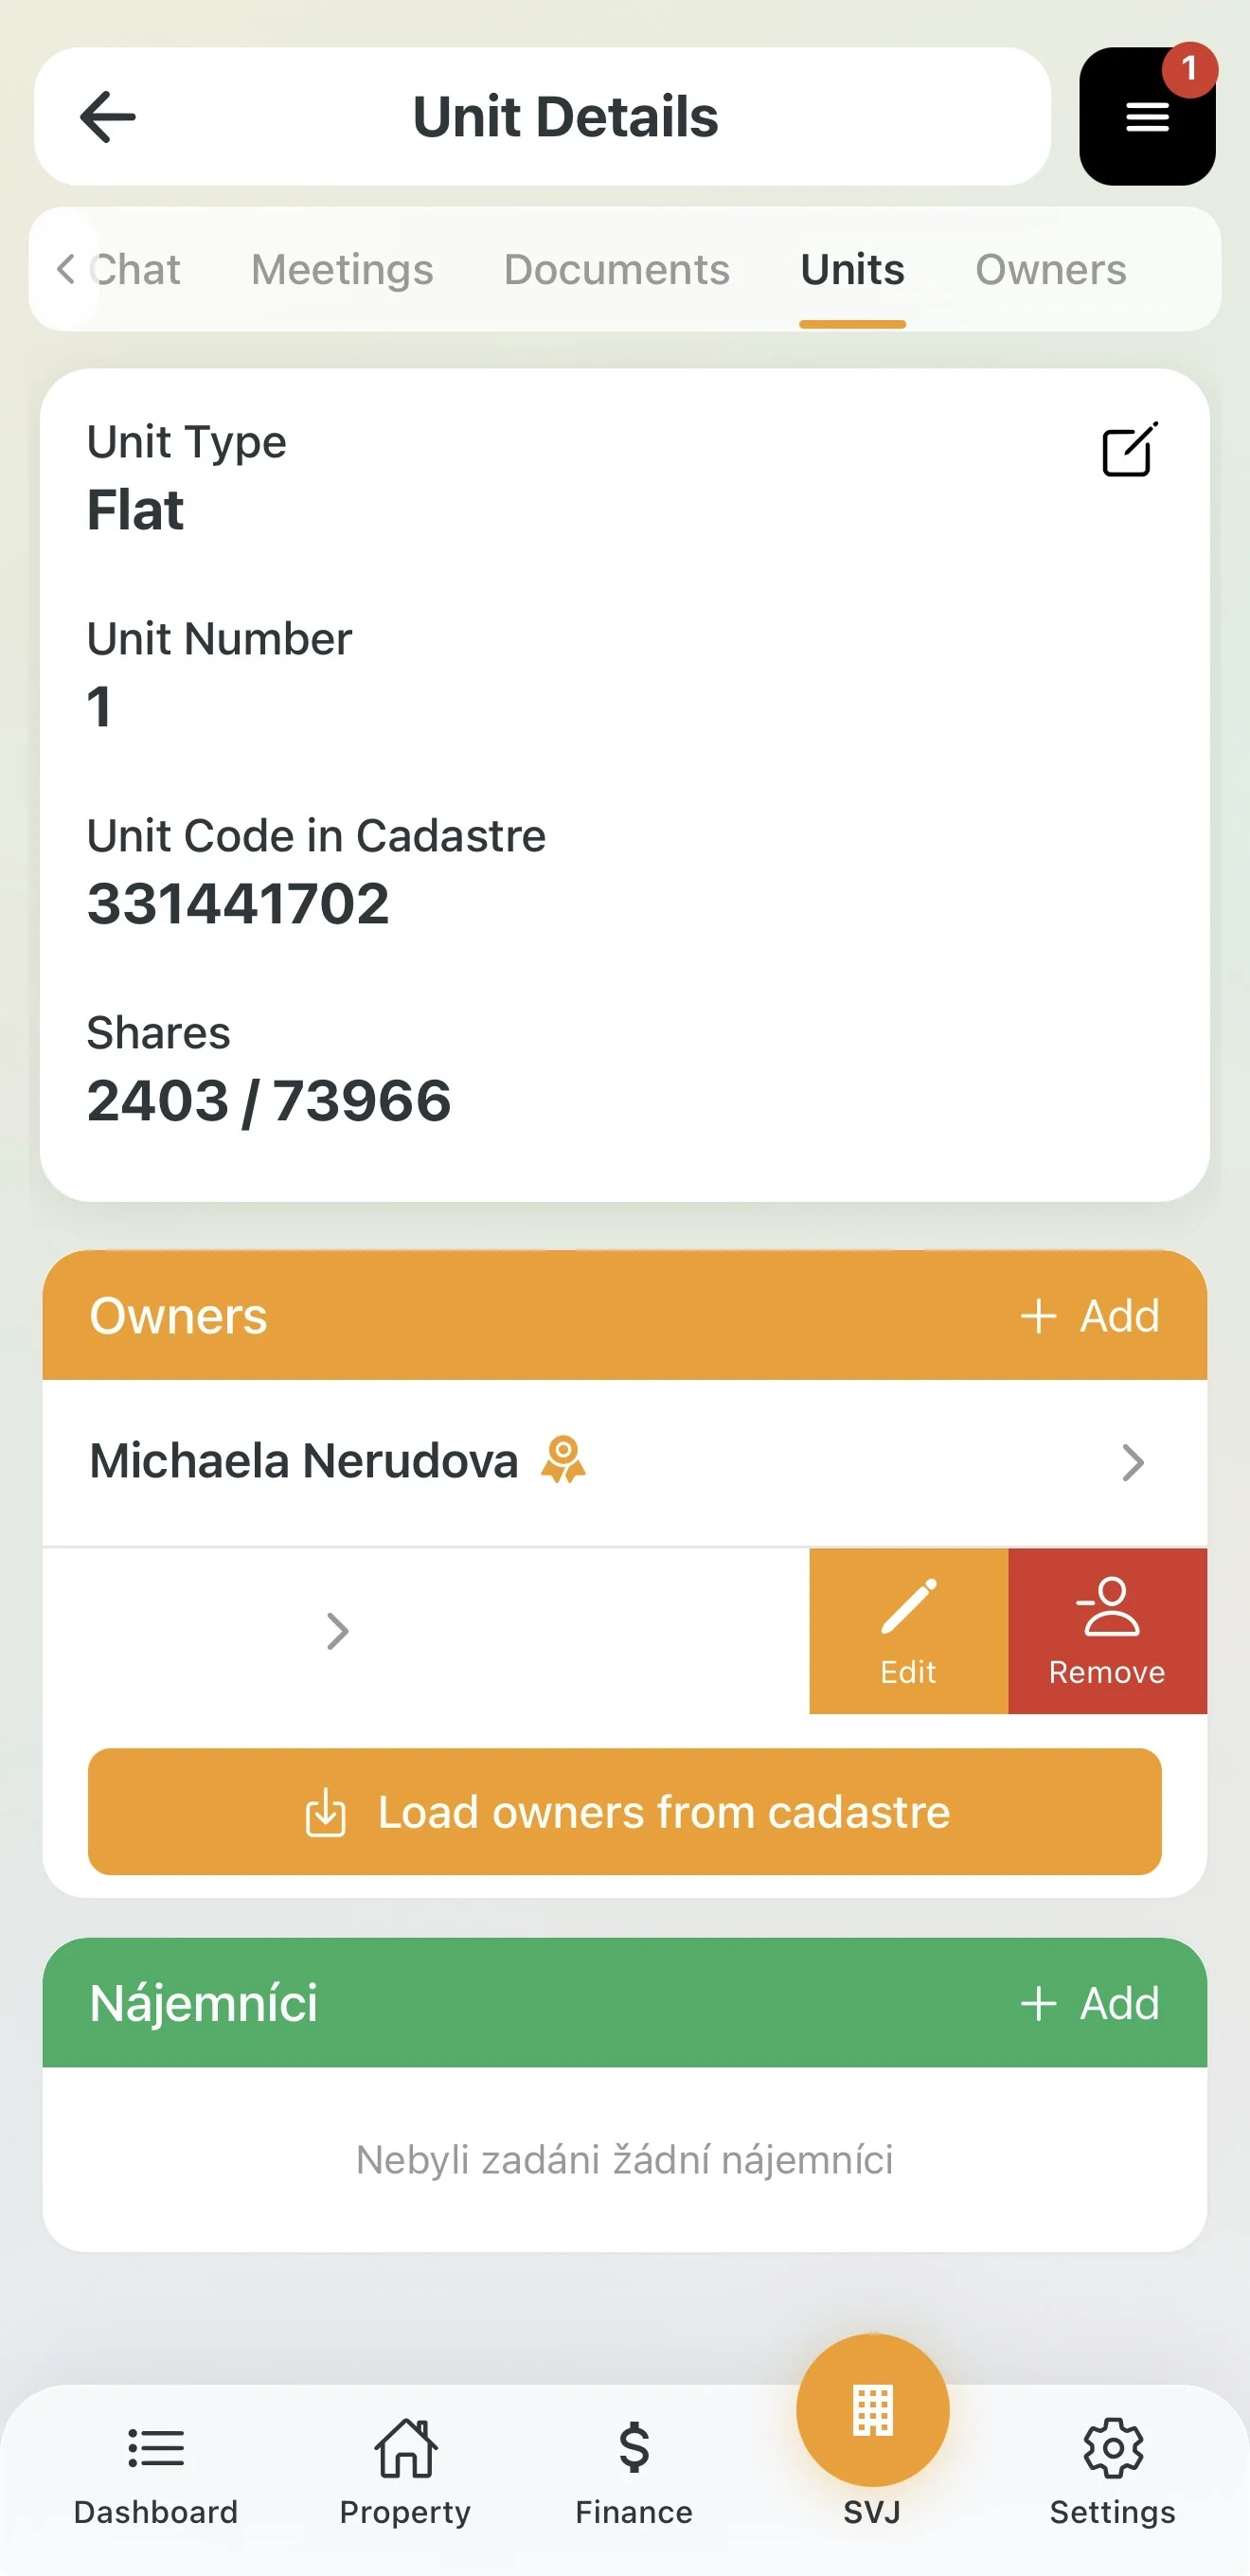
2. Managing Owners for a Unit
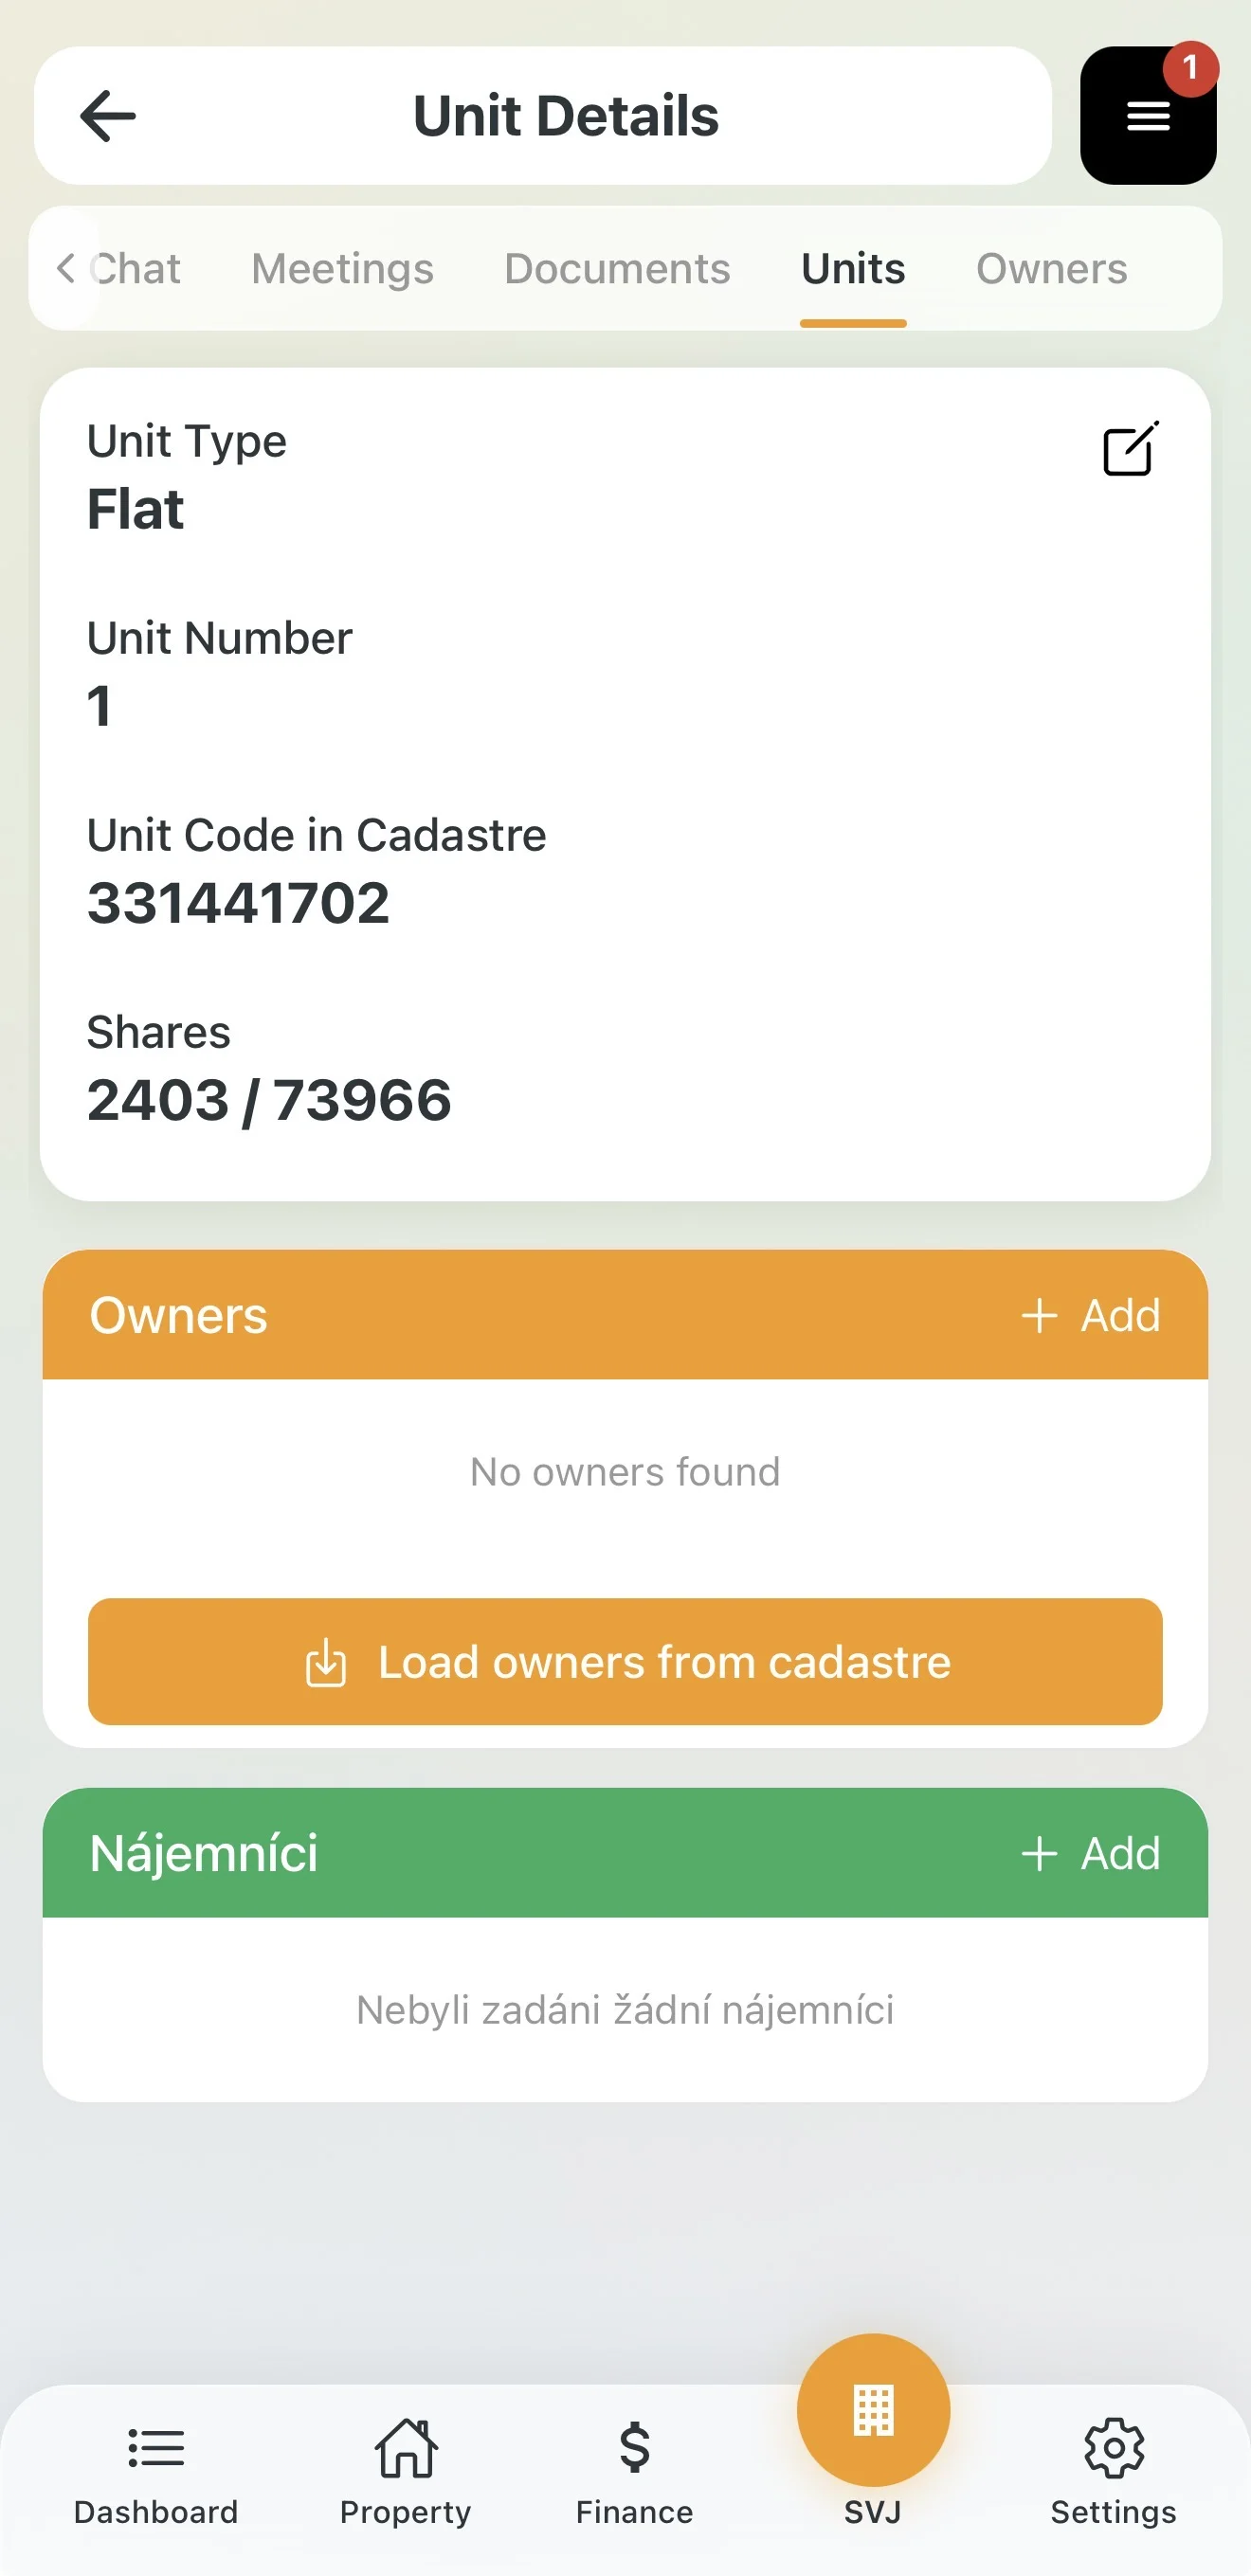
Tap a unit to open its detail, where you can link specific persons to a share in the Owners section.
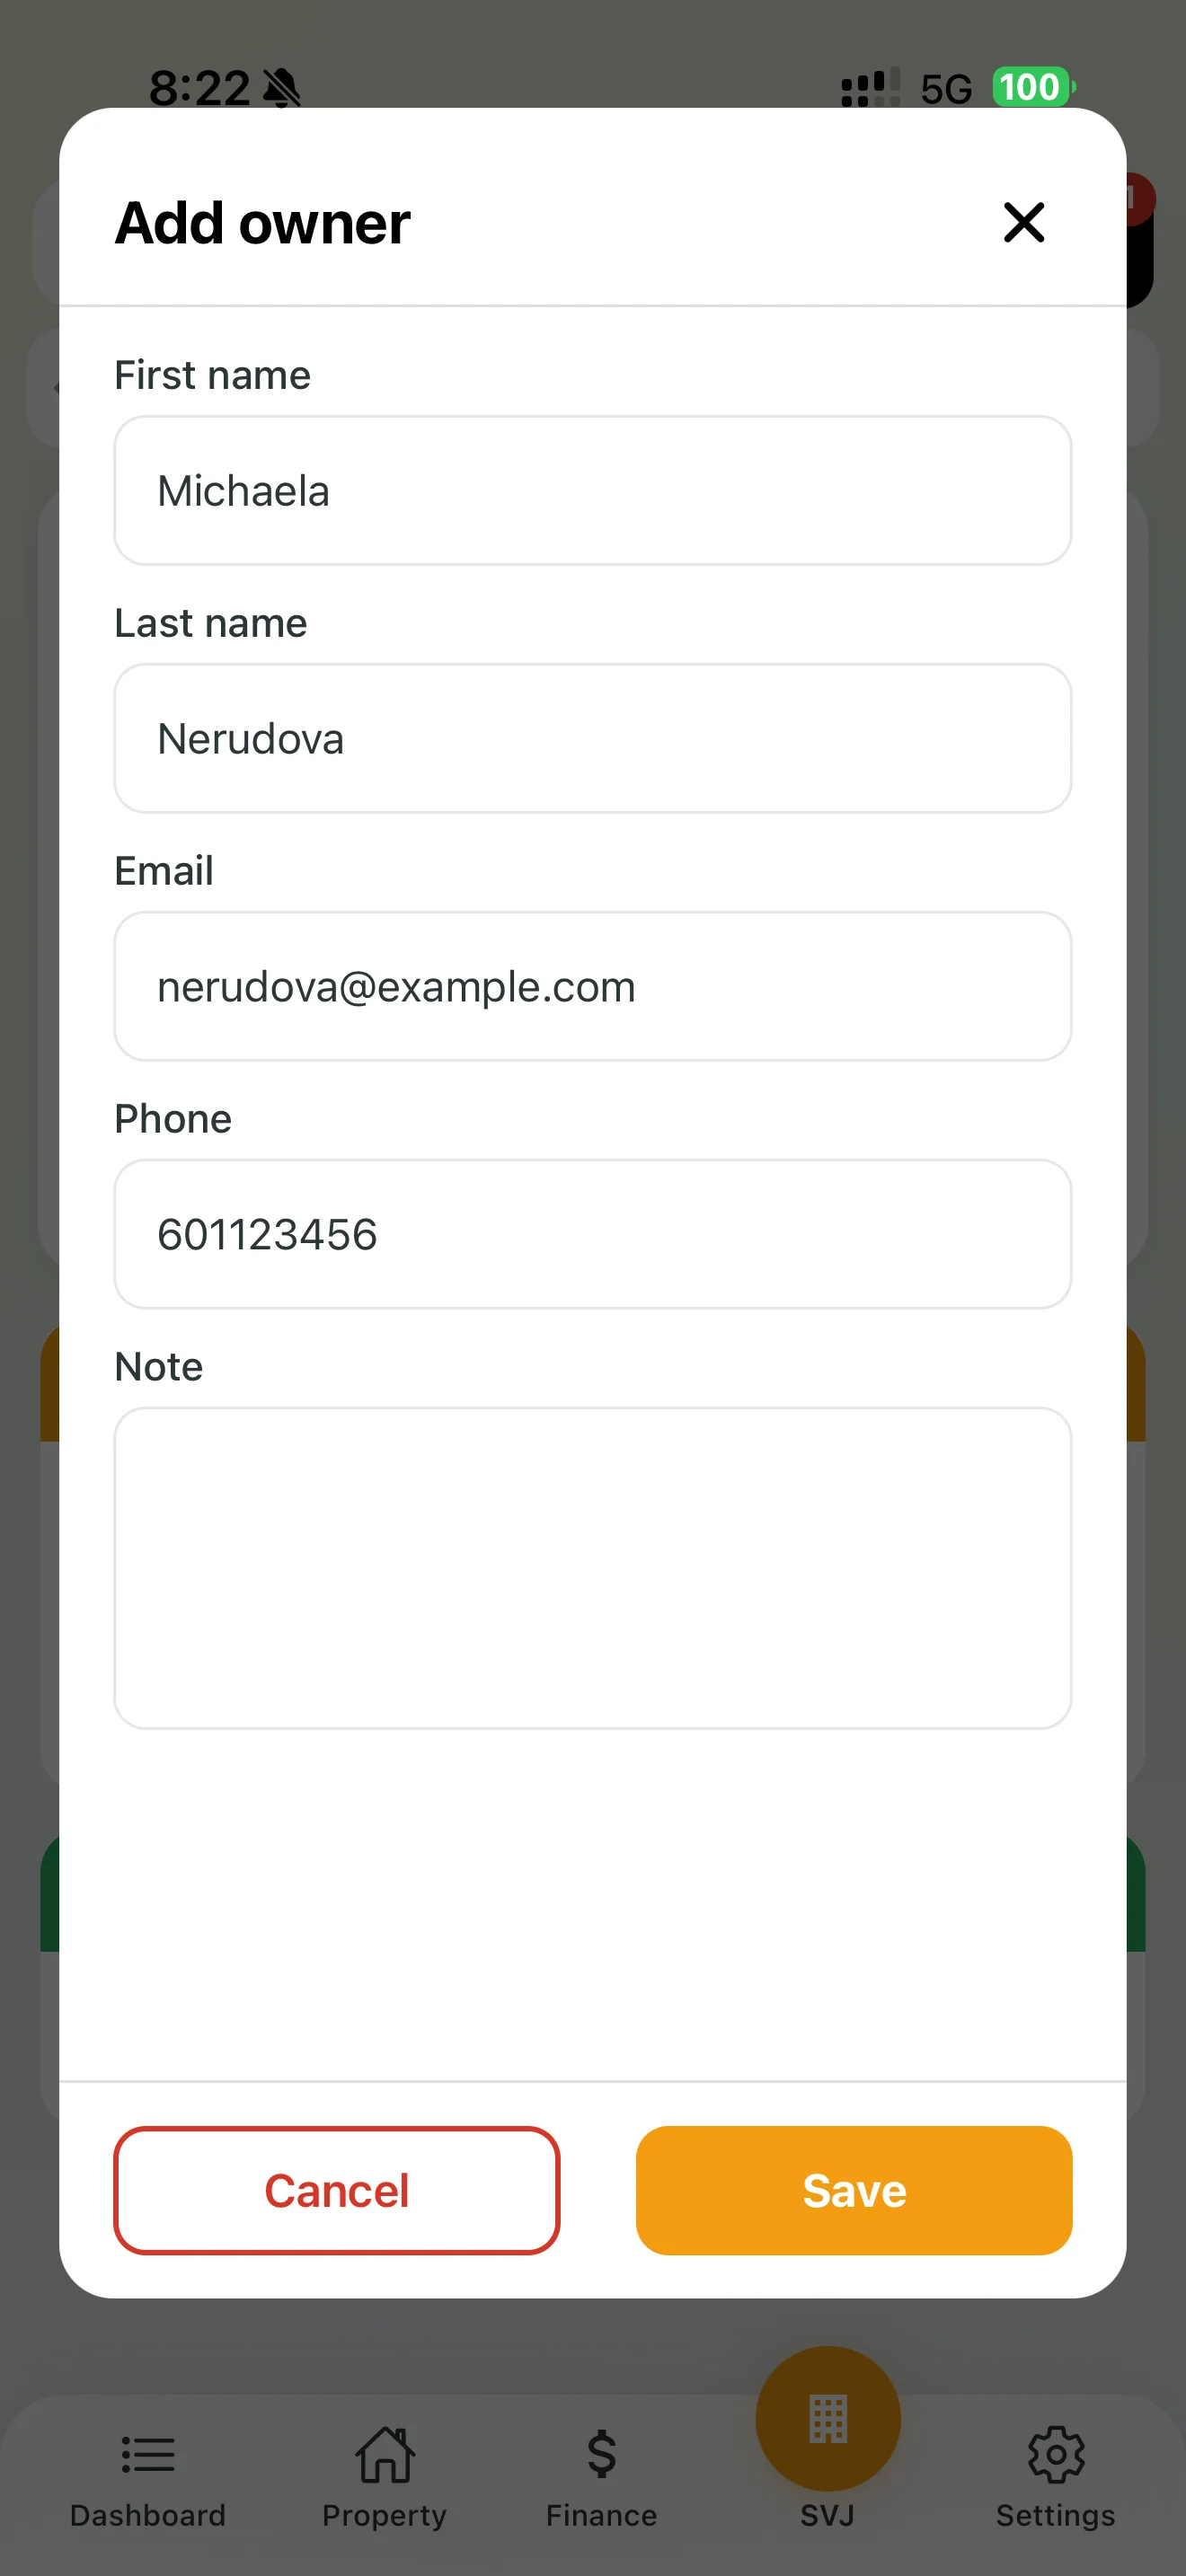
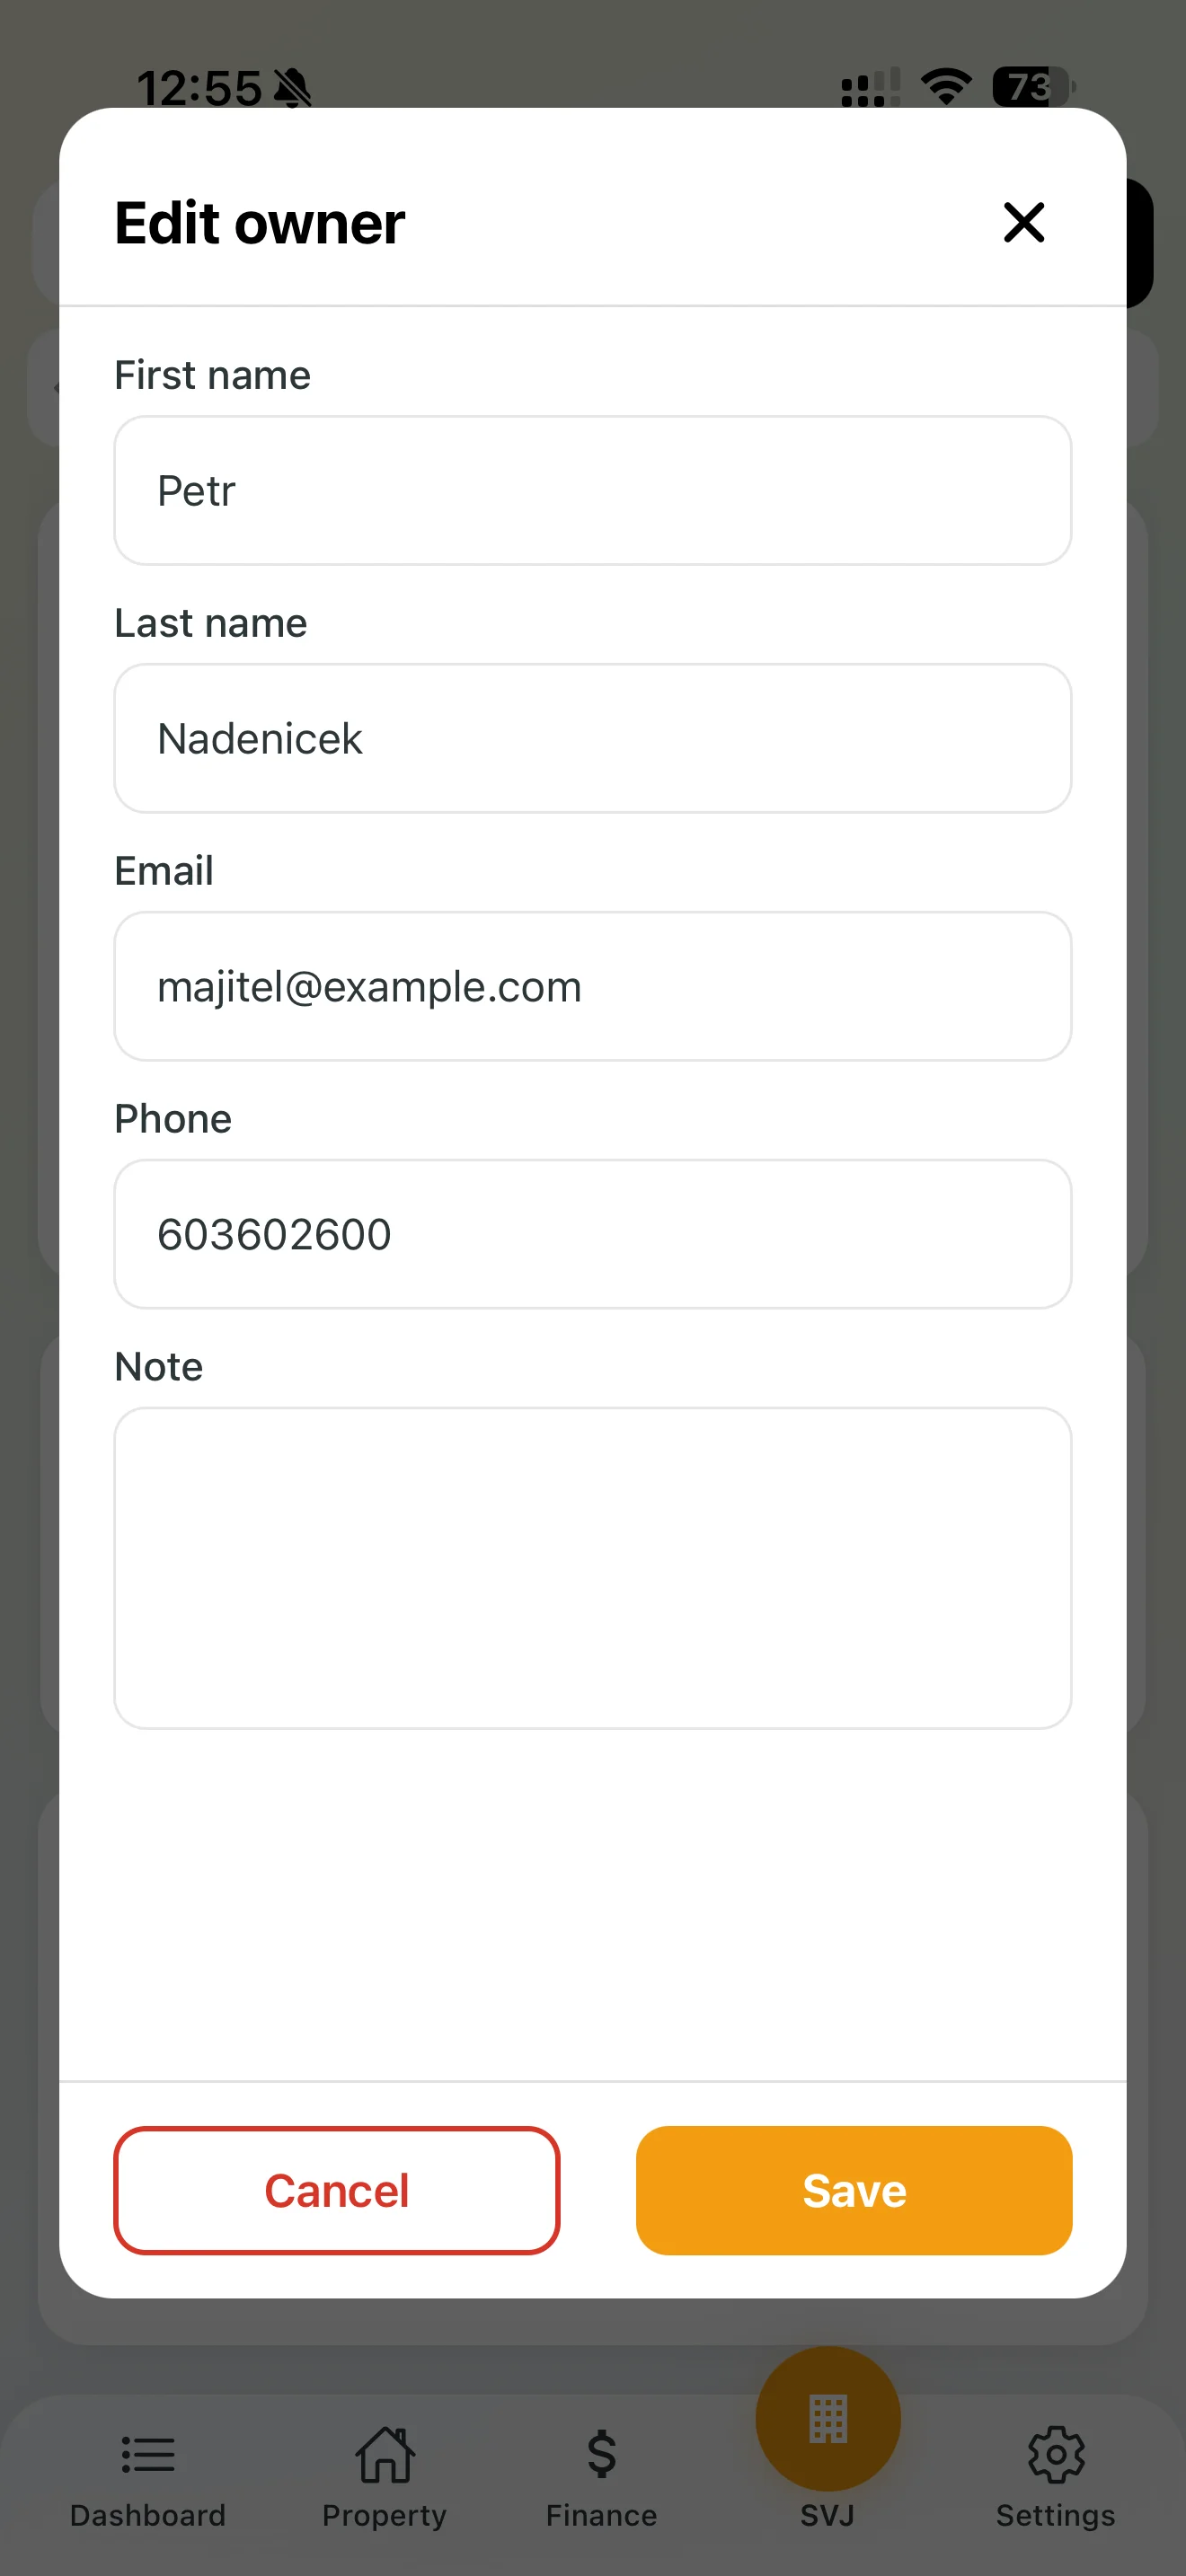
Adding a new owner
Fill in the name, email and phone number. The person is automatically created in the overall owner list as well.
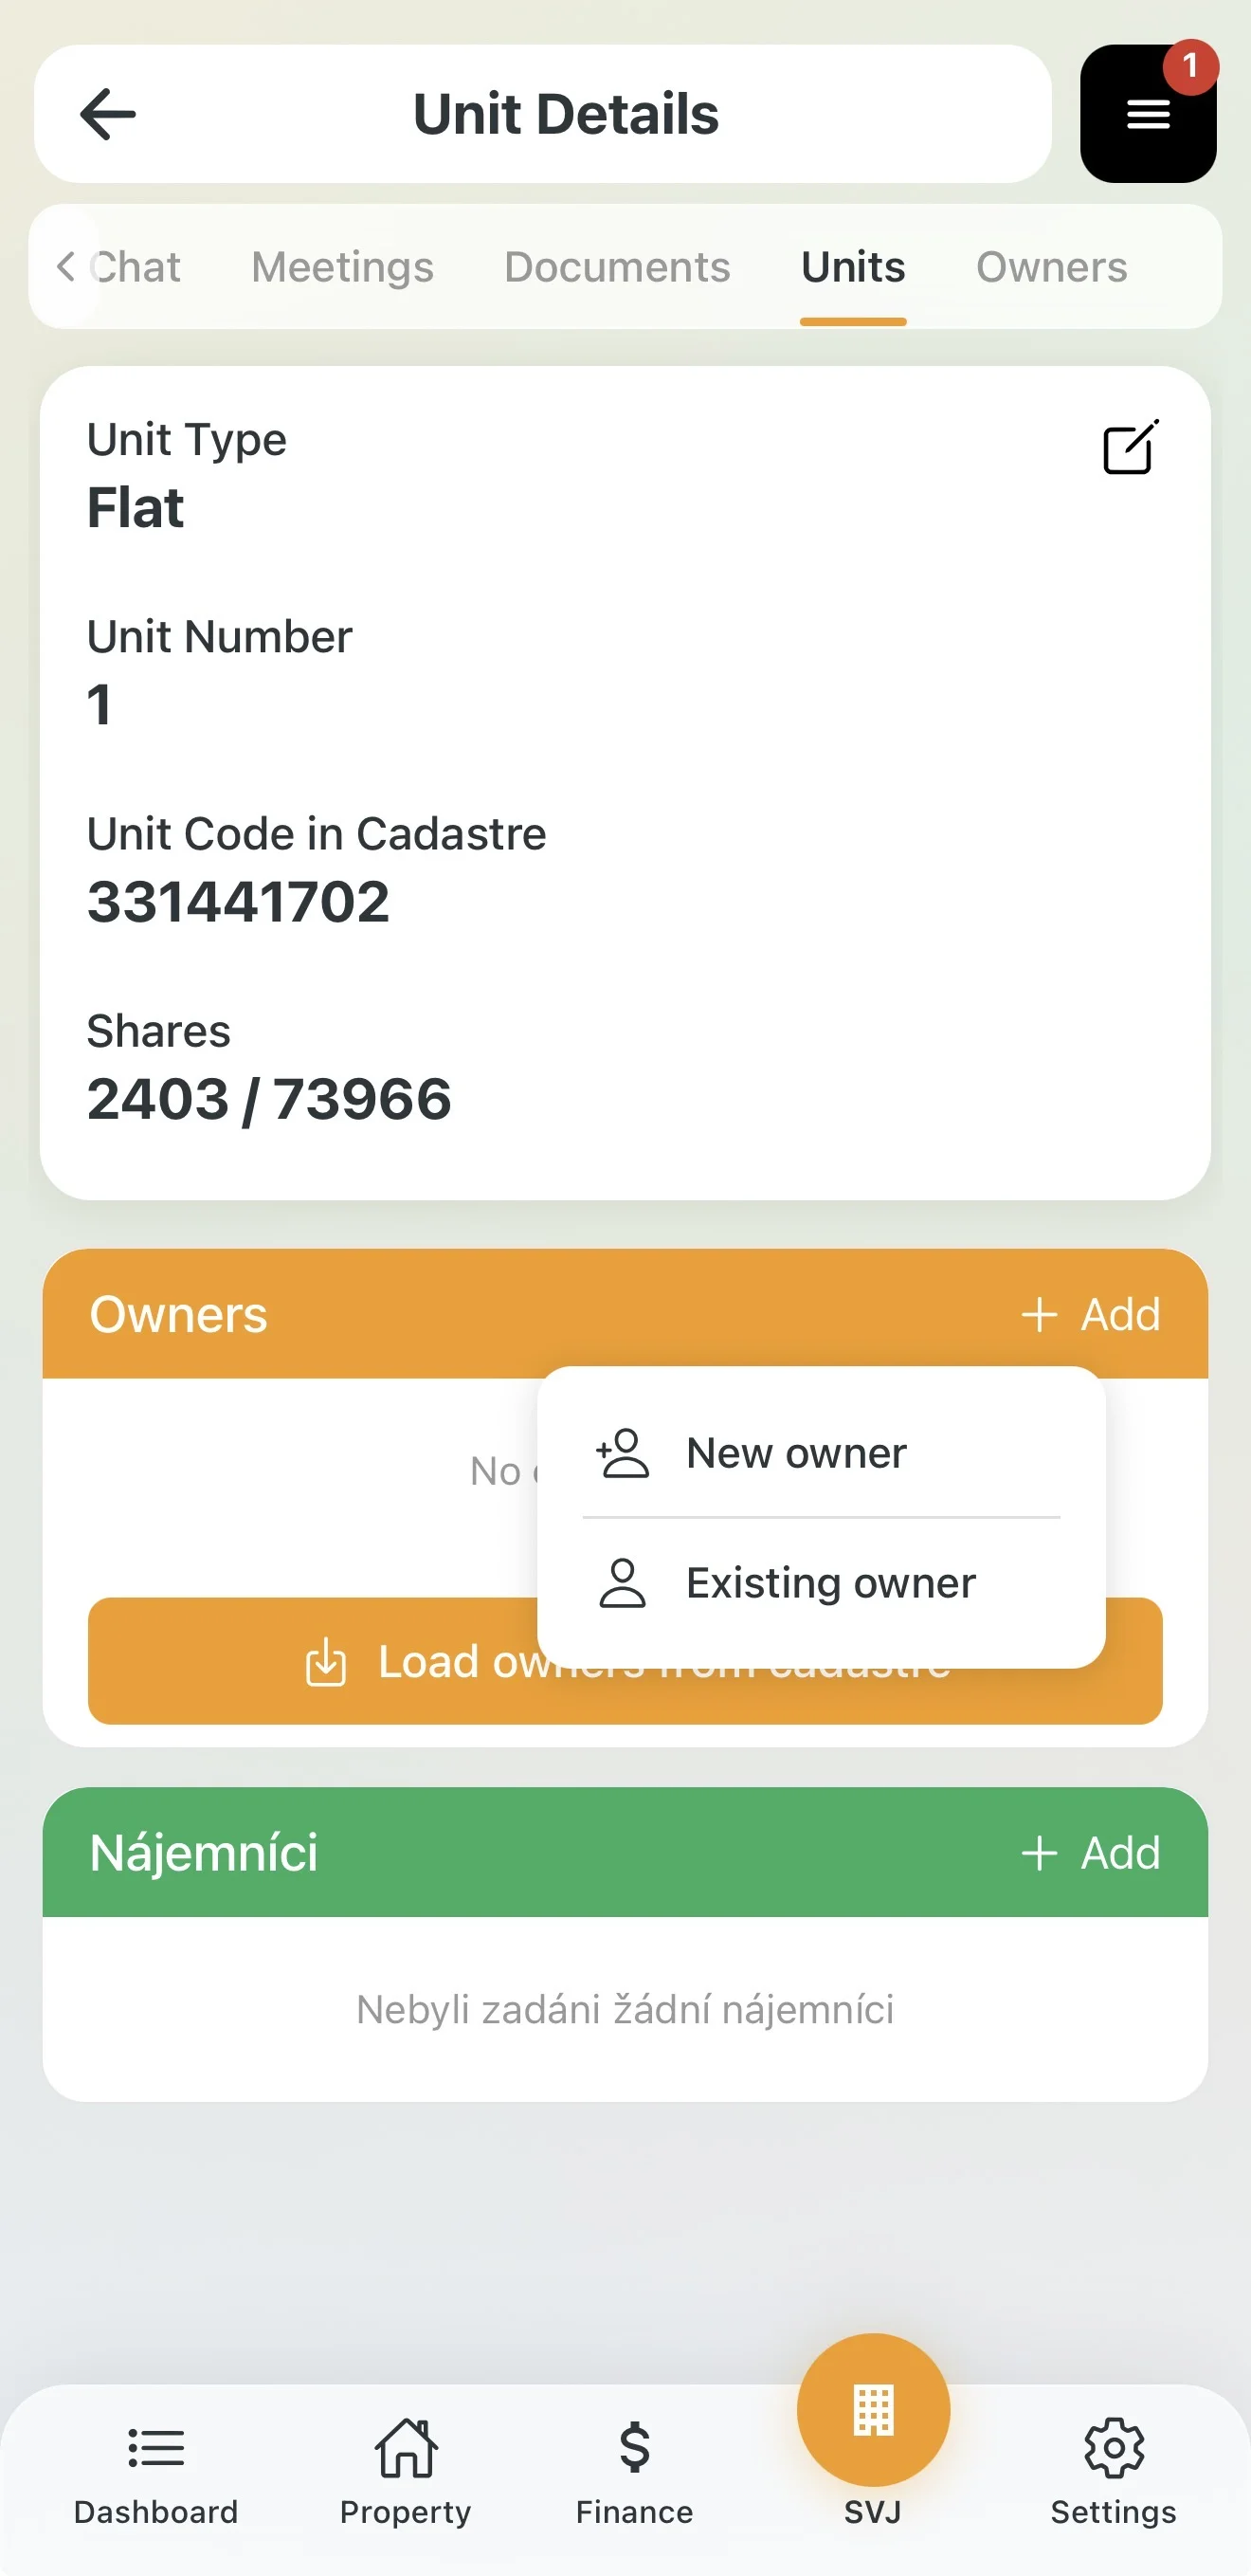
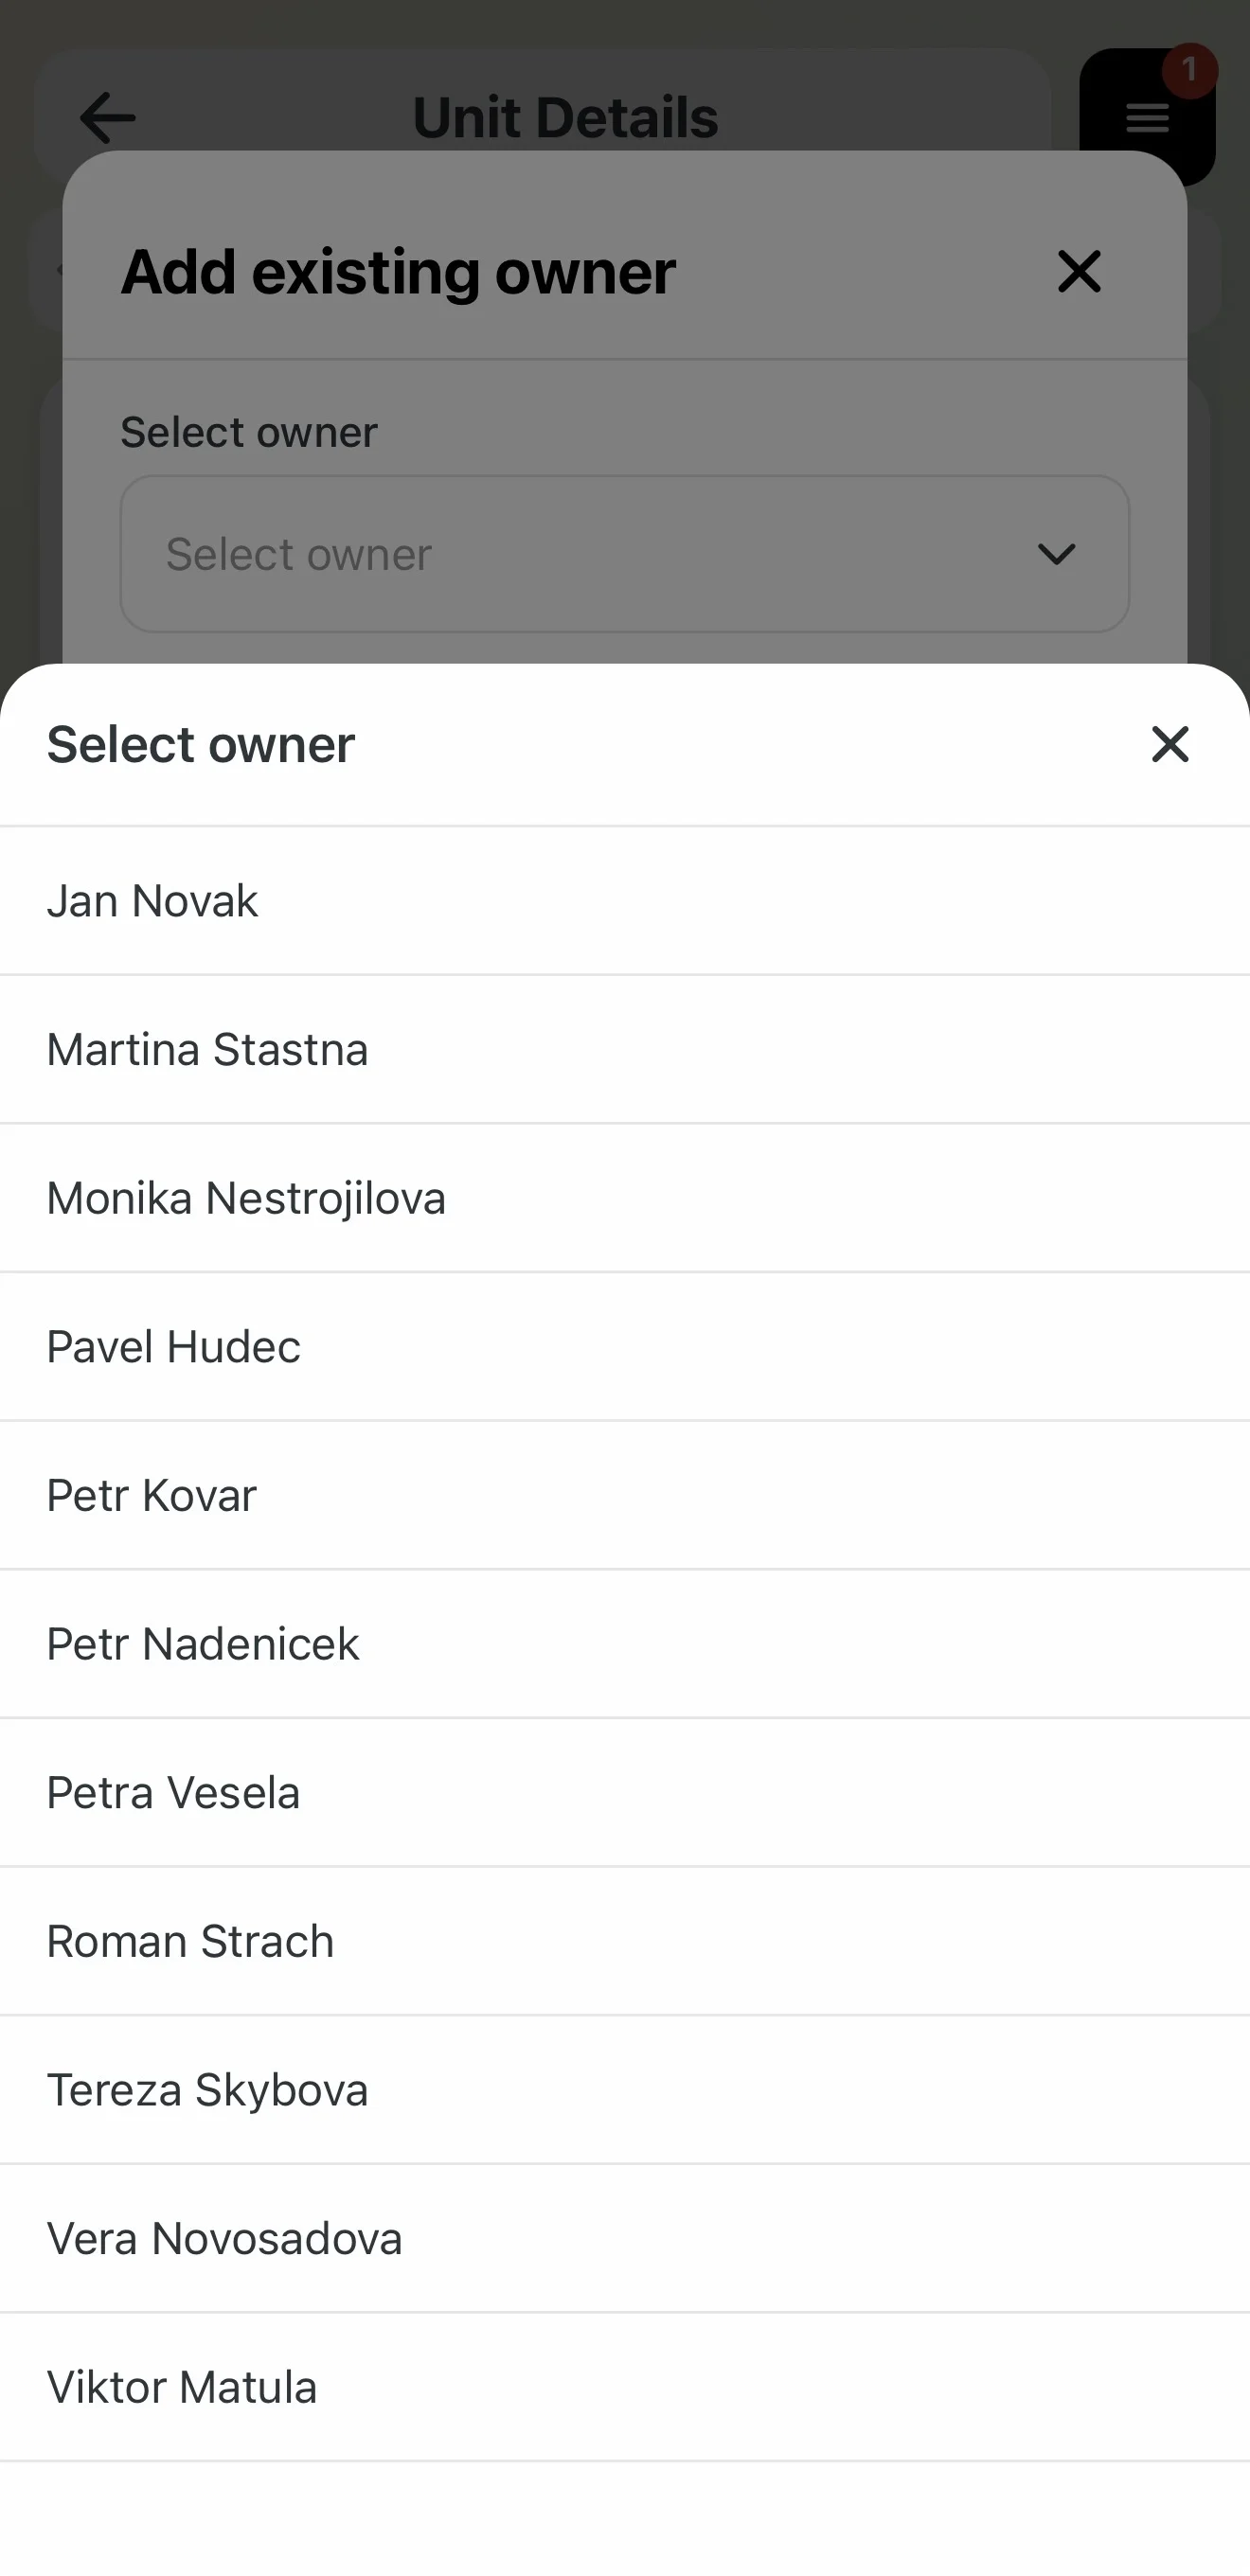
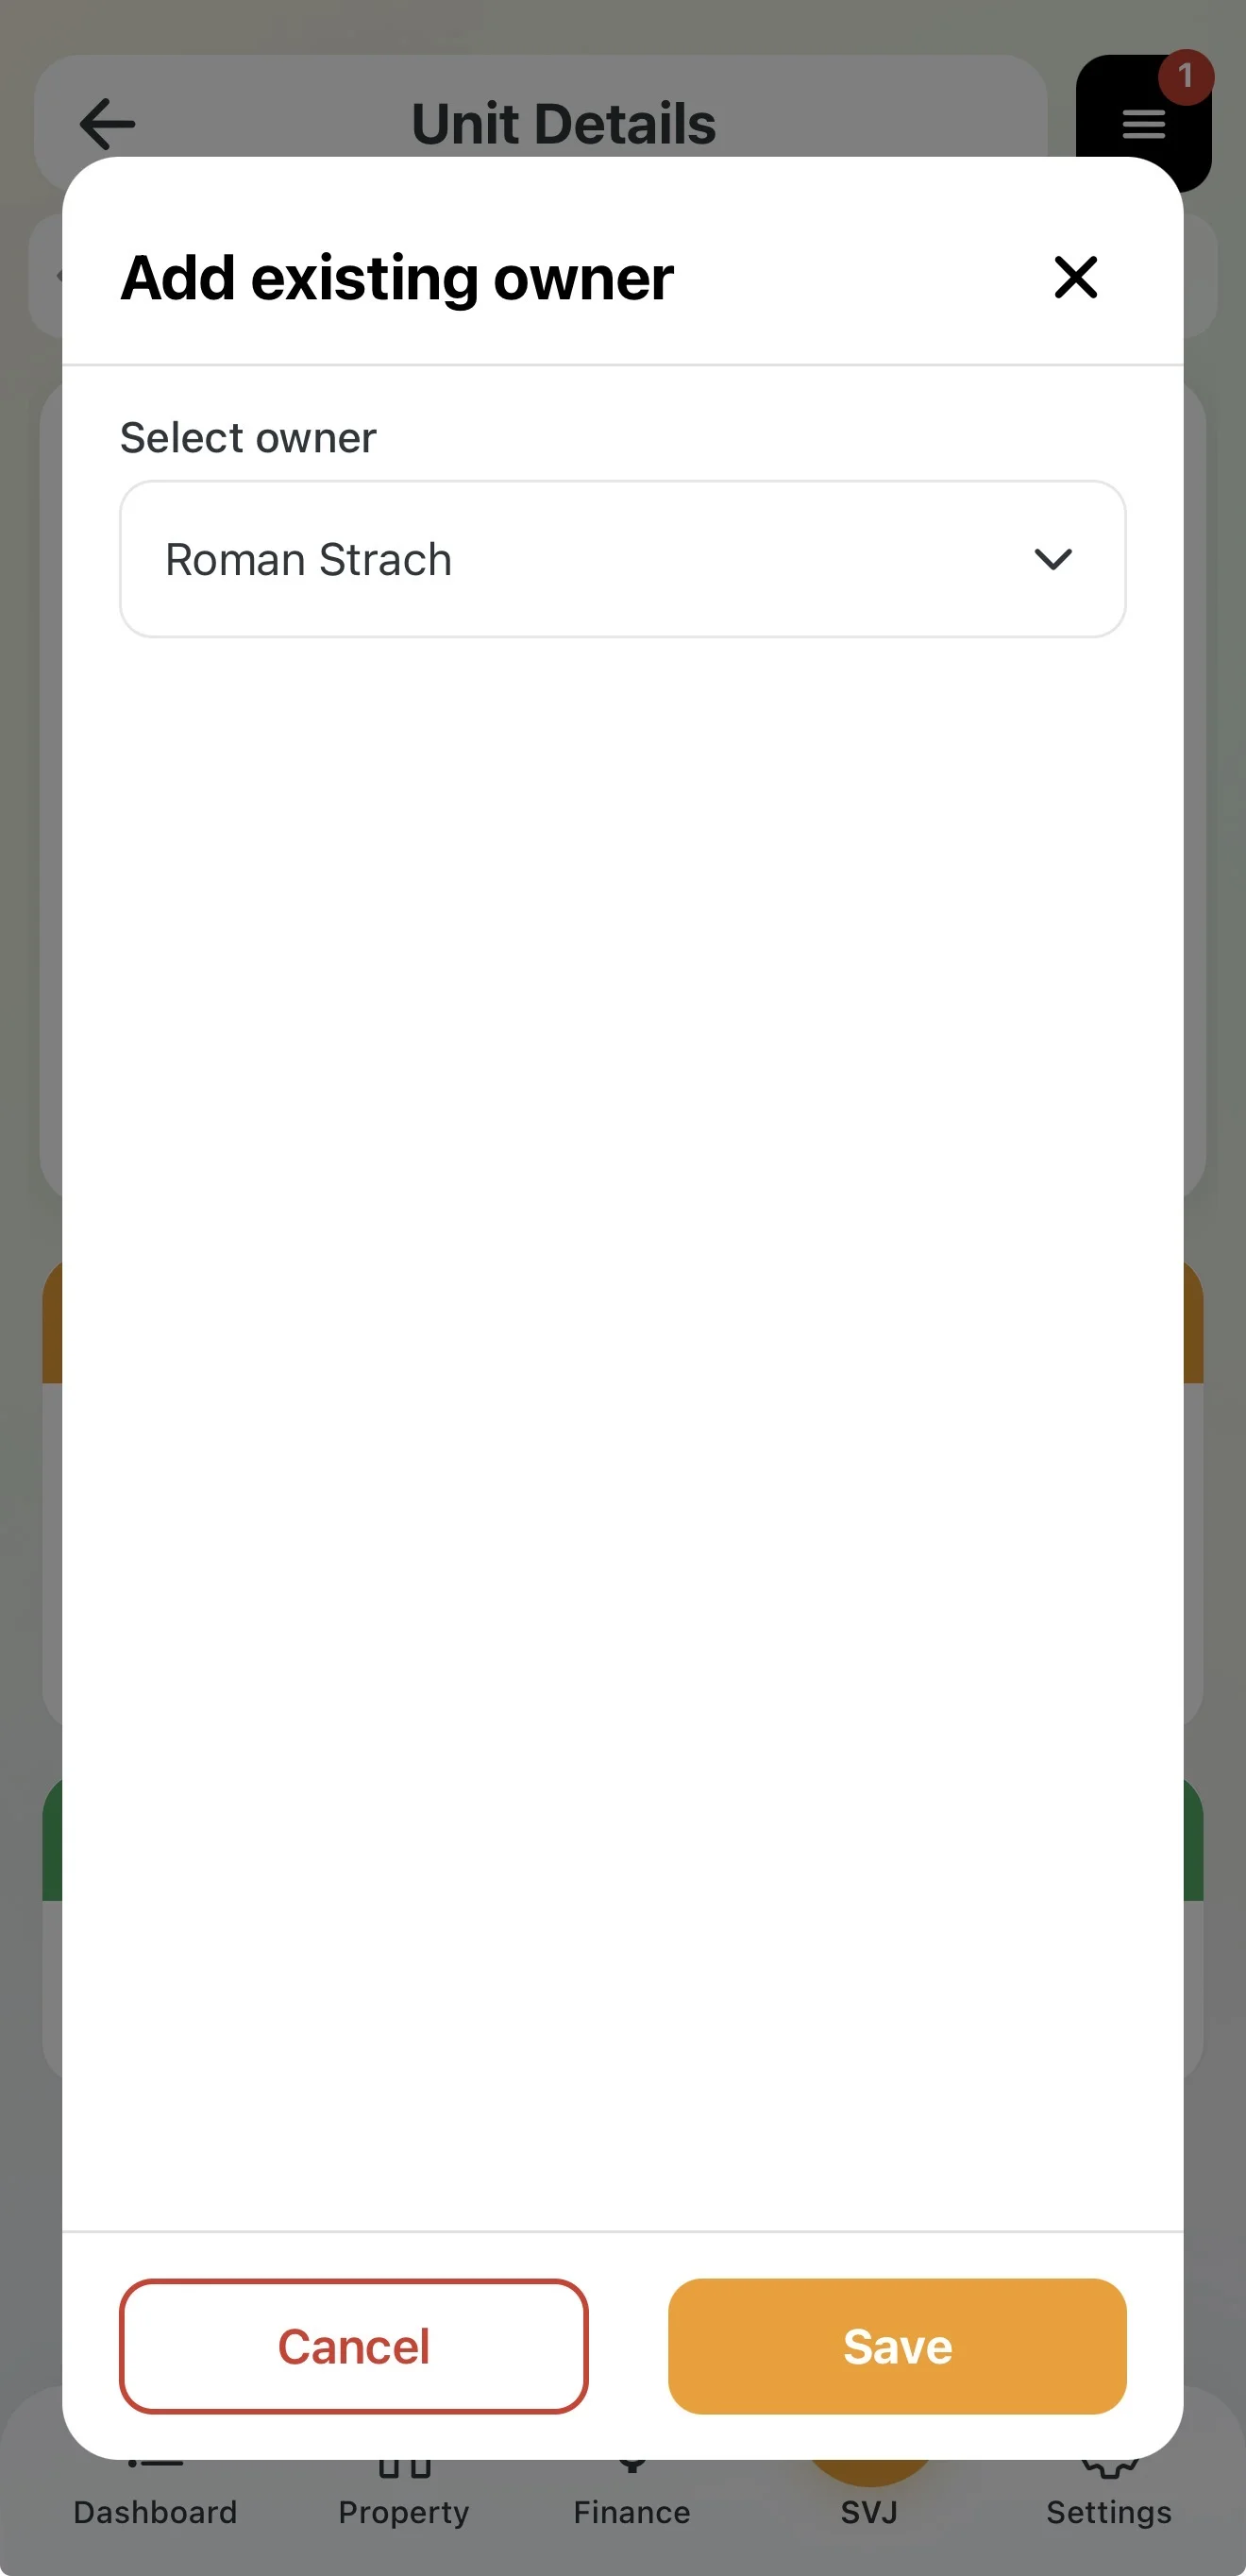
Adding an existing owner
If the person is already in the owner list, you can search for and assign them to the unit.

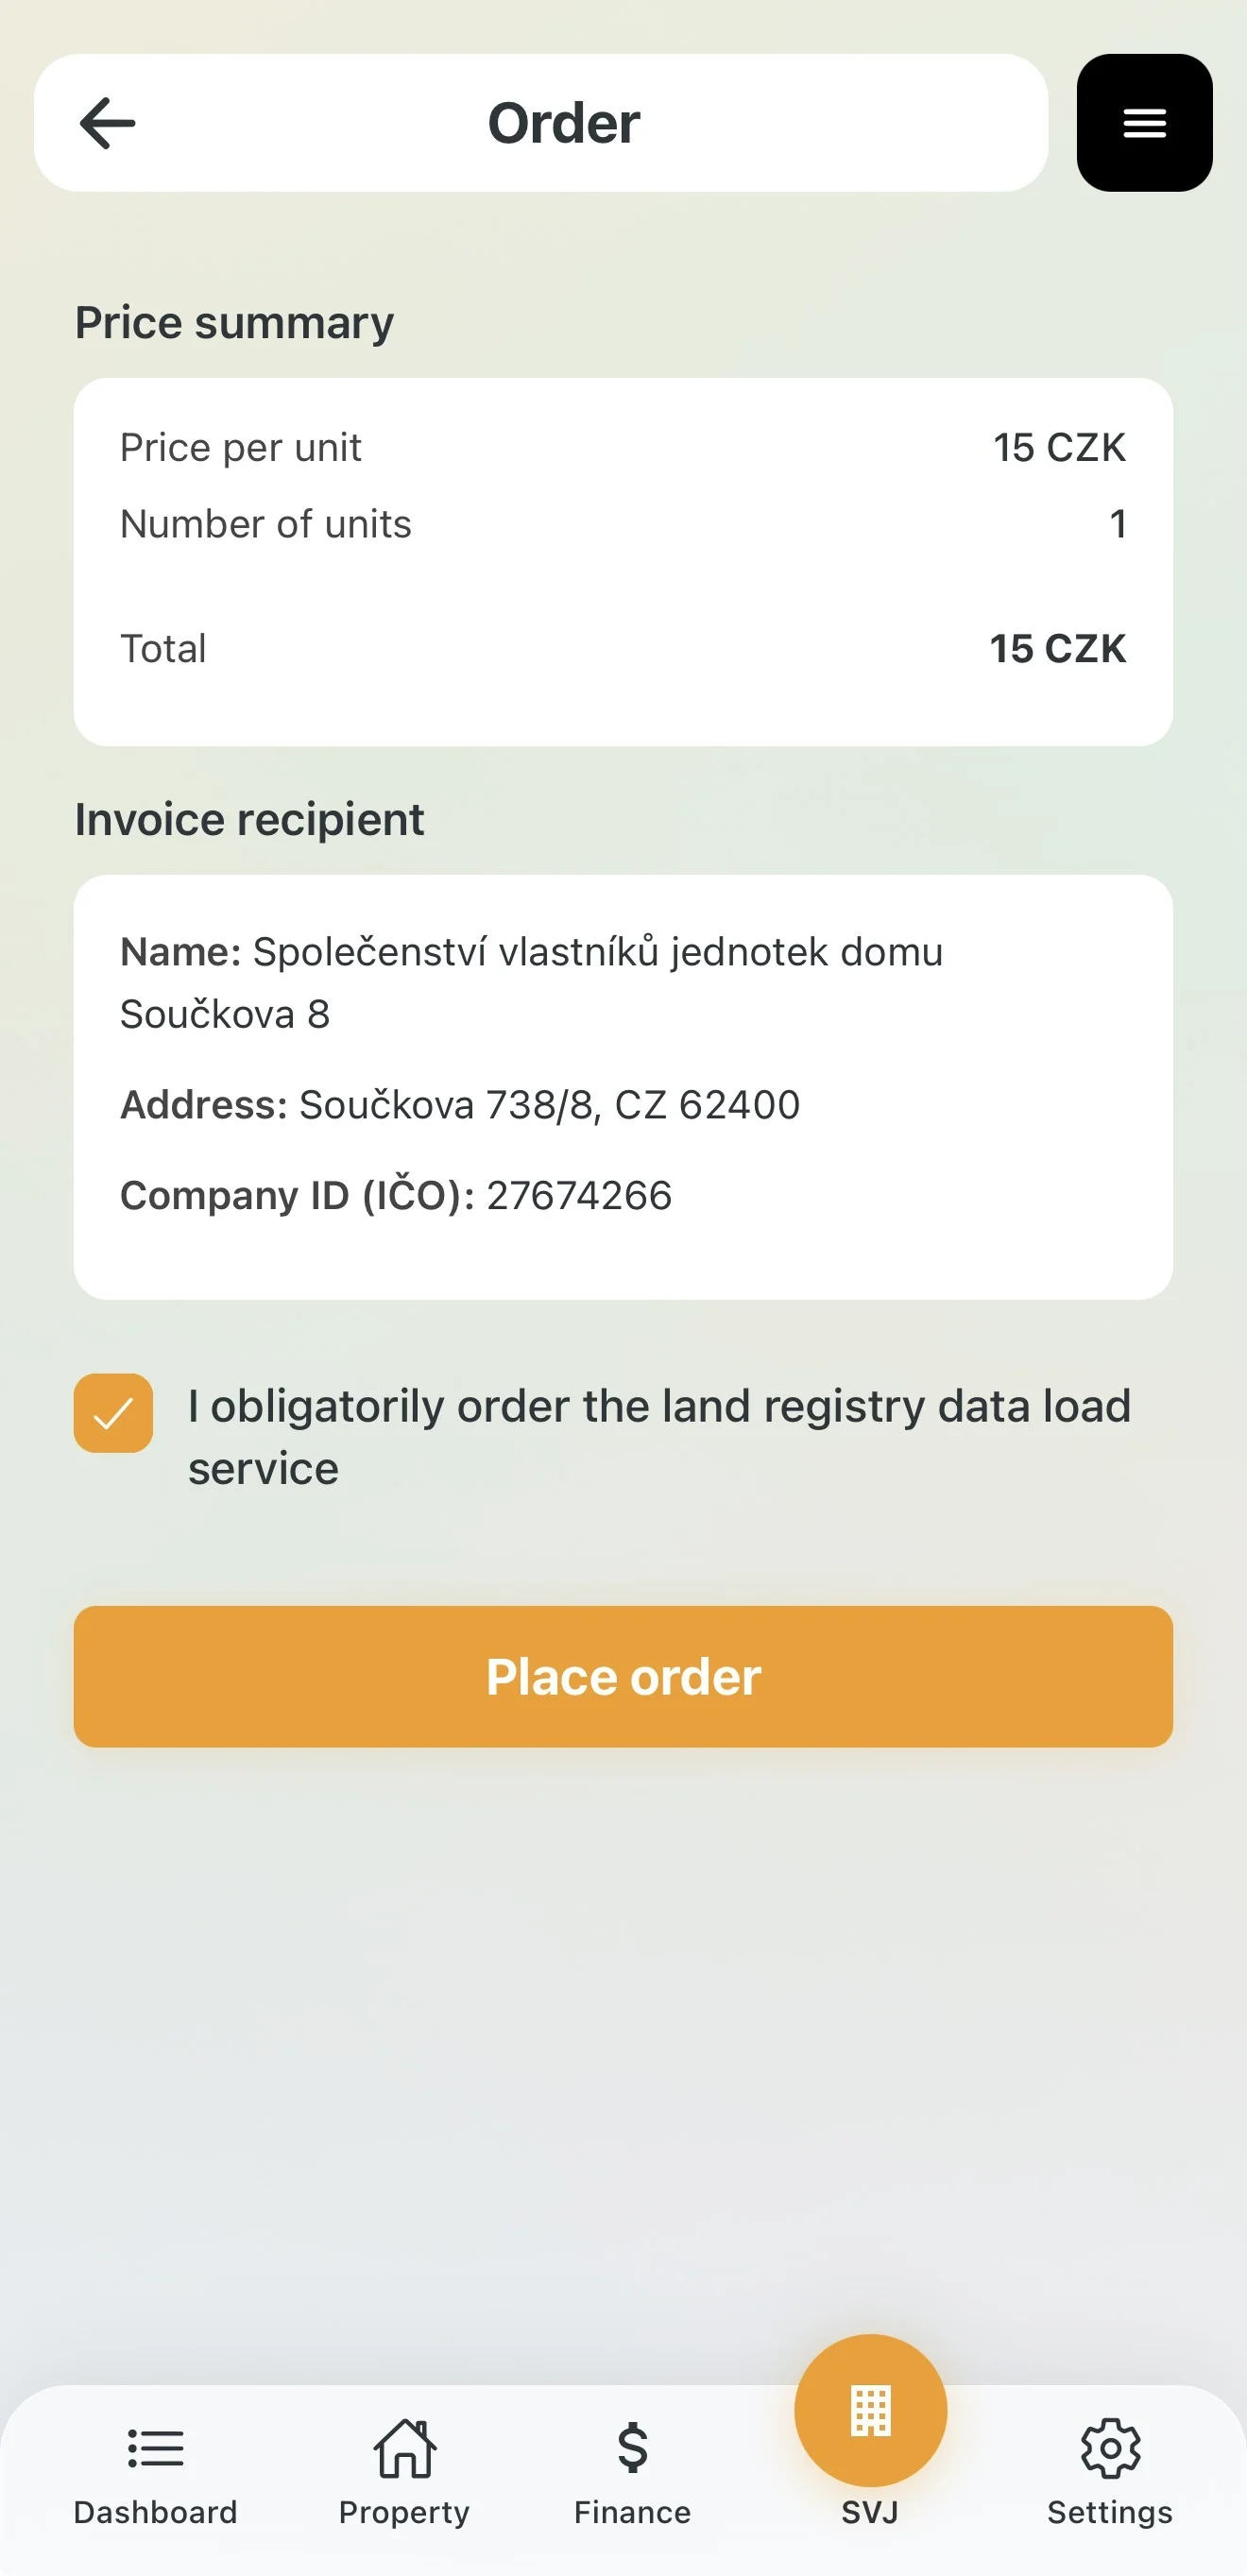
Load from Registry (Paid feature)
The app verifies the current owner in the Real Estate Registry and fills in the details for you — ideal when an owner changes.
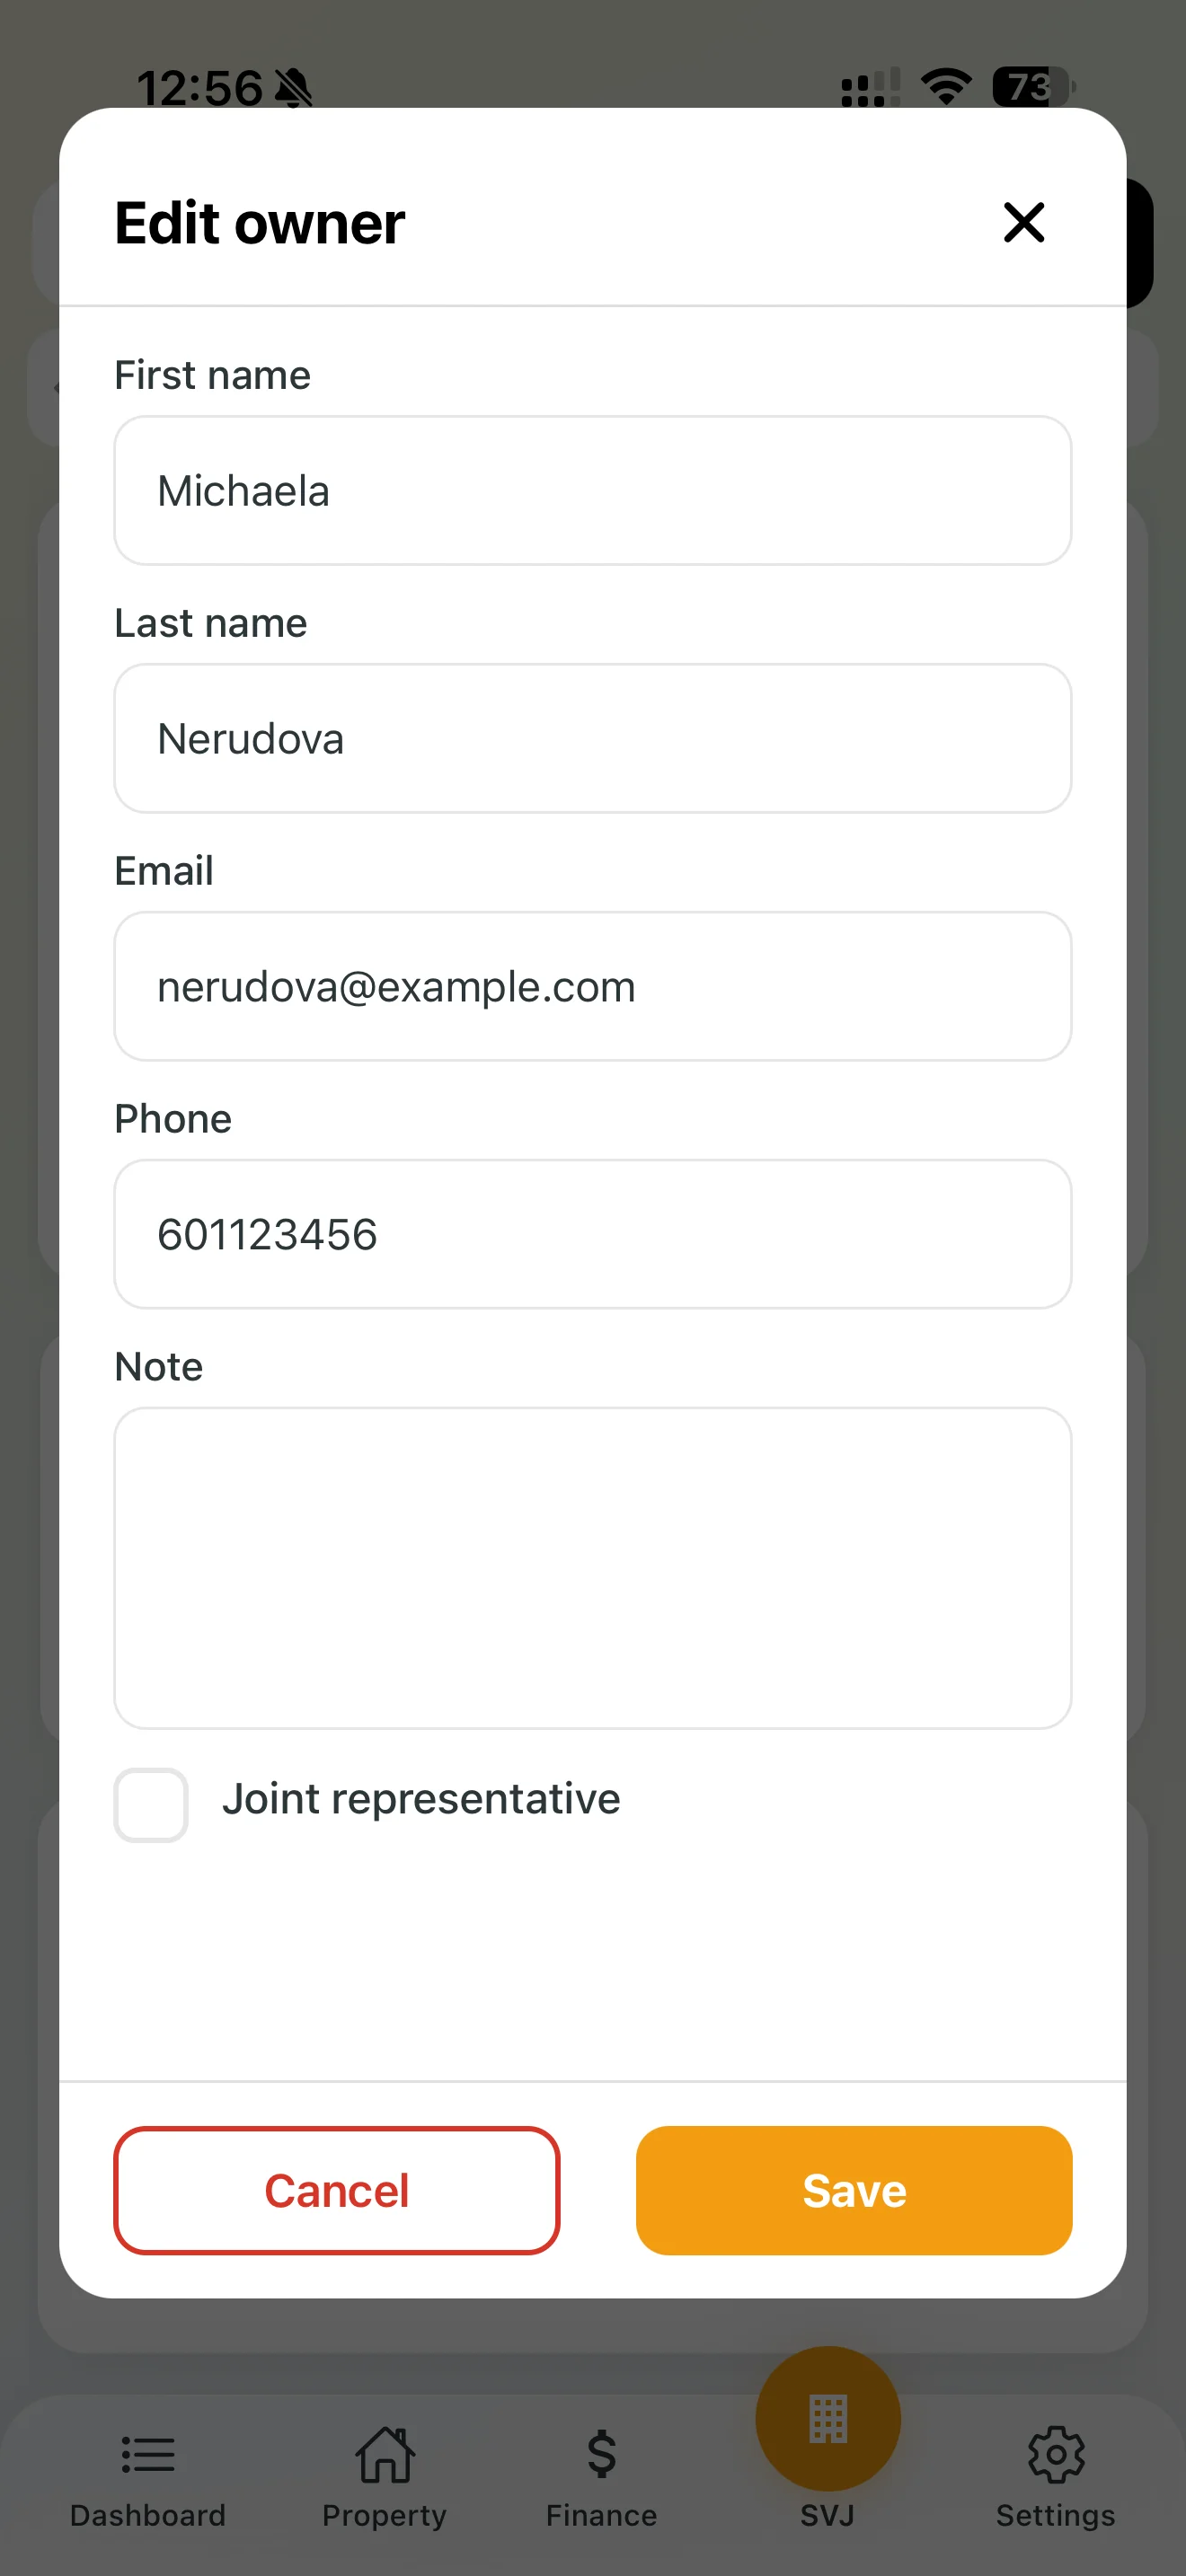
Shared Representative and Co-ownership
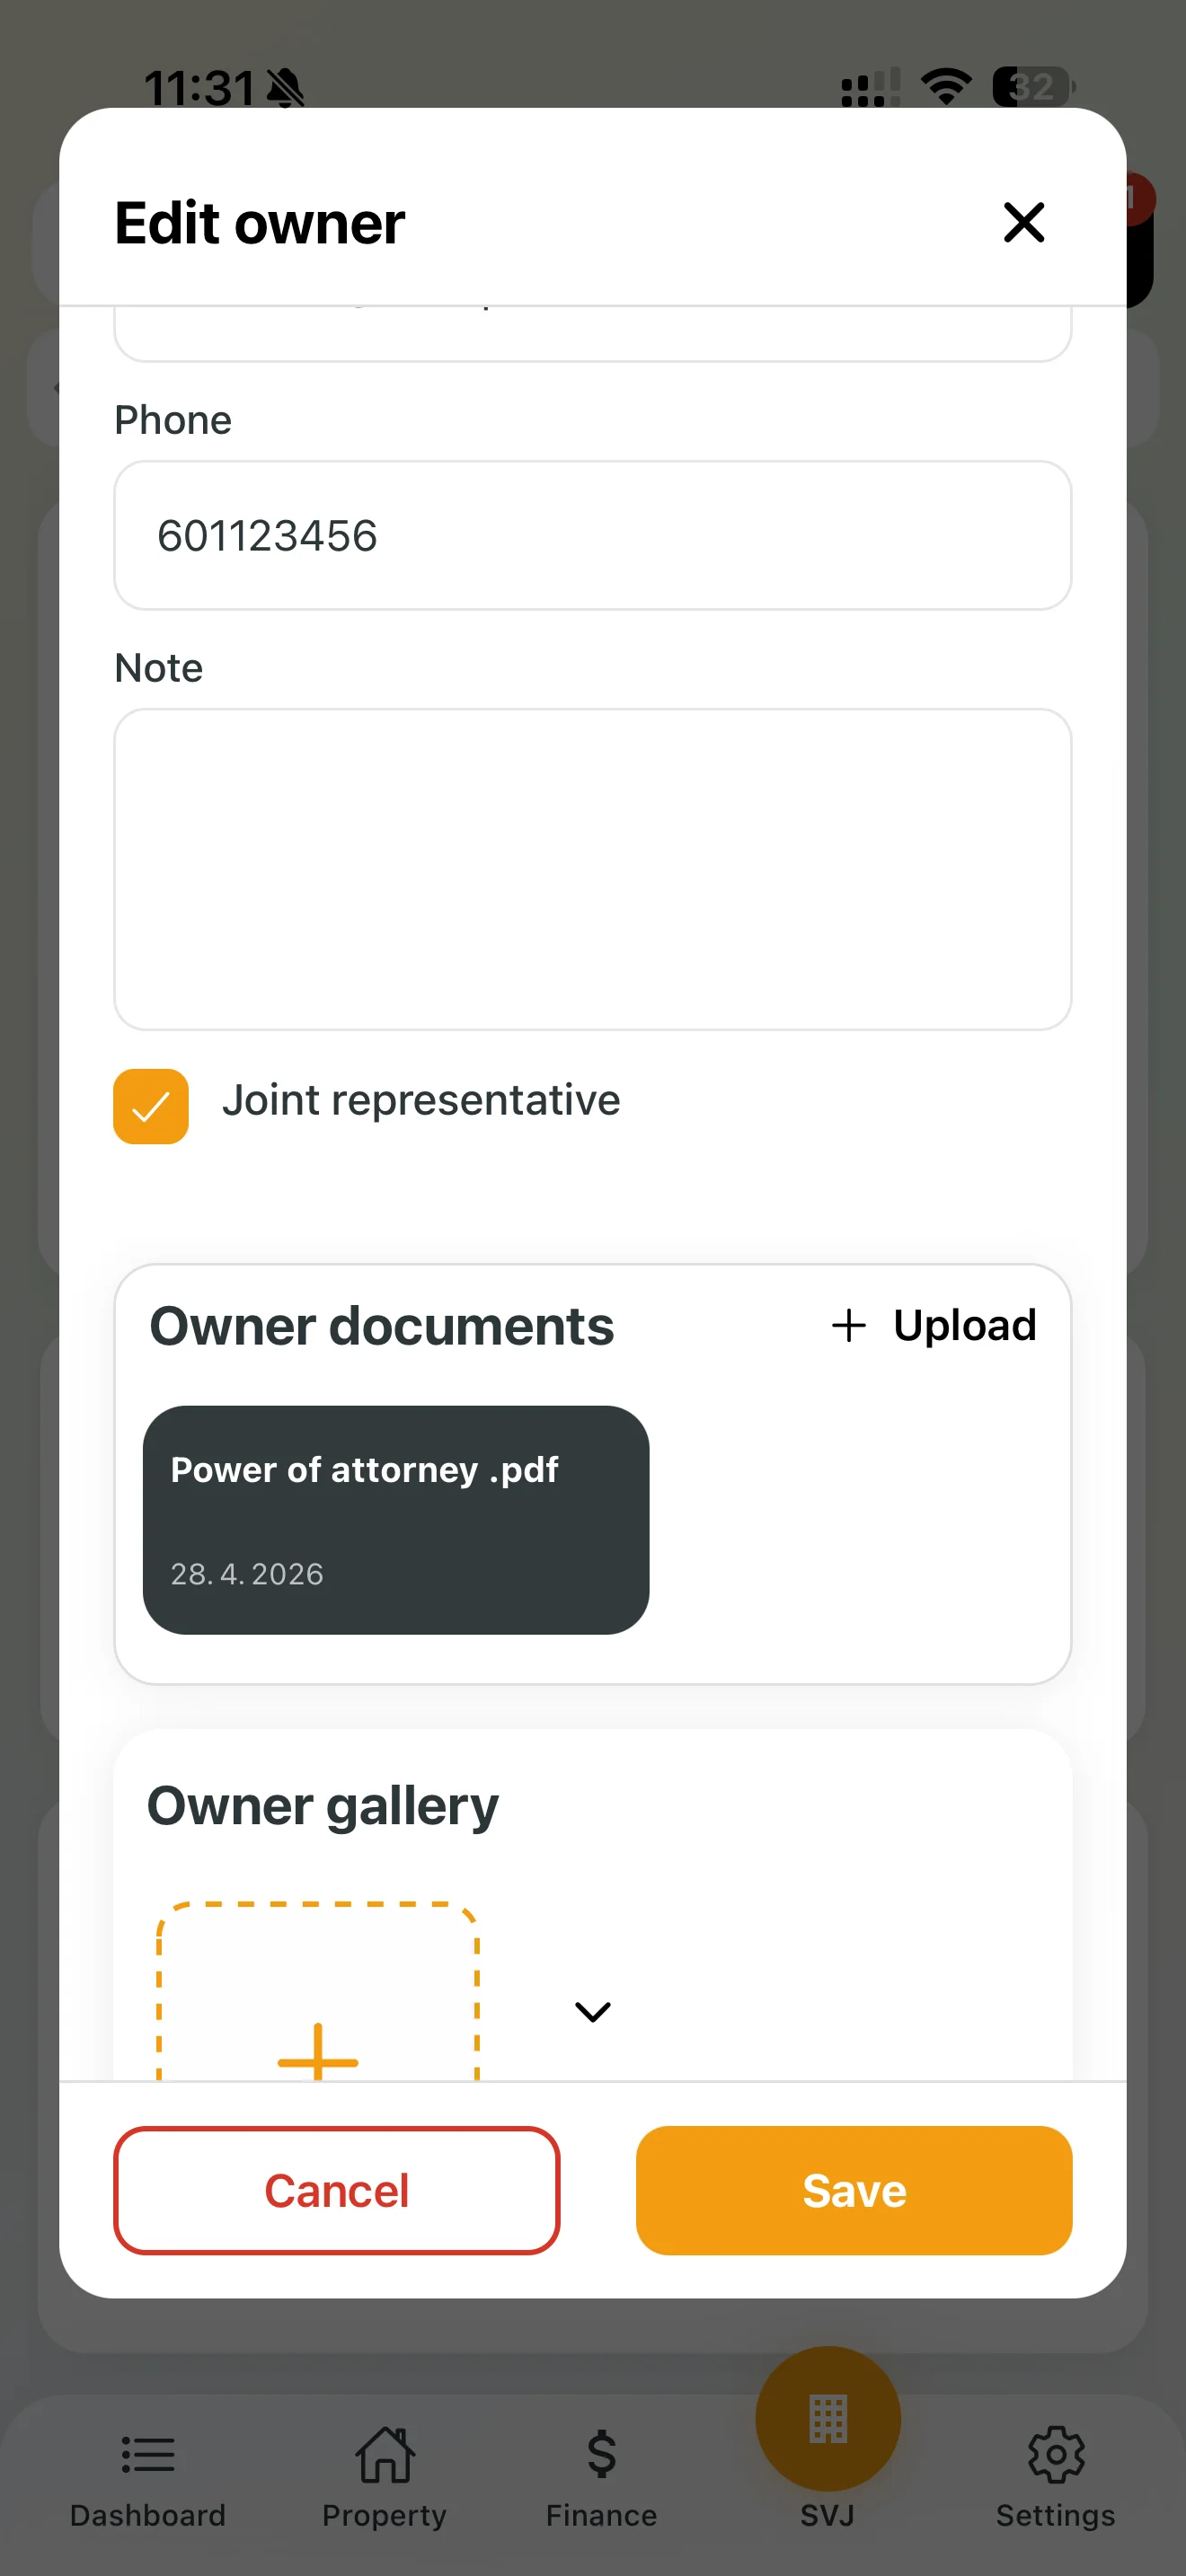
If a unit has multiple owners, designate one as the Shared Representative. Tap the owner, check the Shared Representative option and upload a Power of Attorney. This person then votes on behalf of the entire unit.
3. Tenant Records
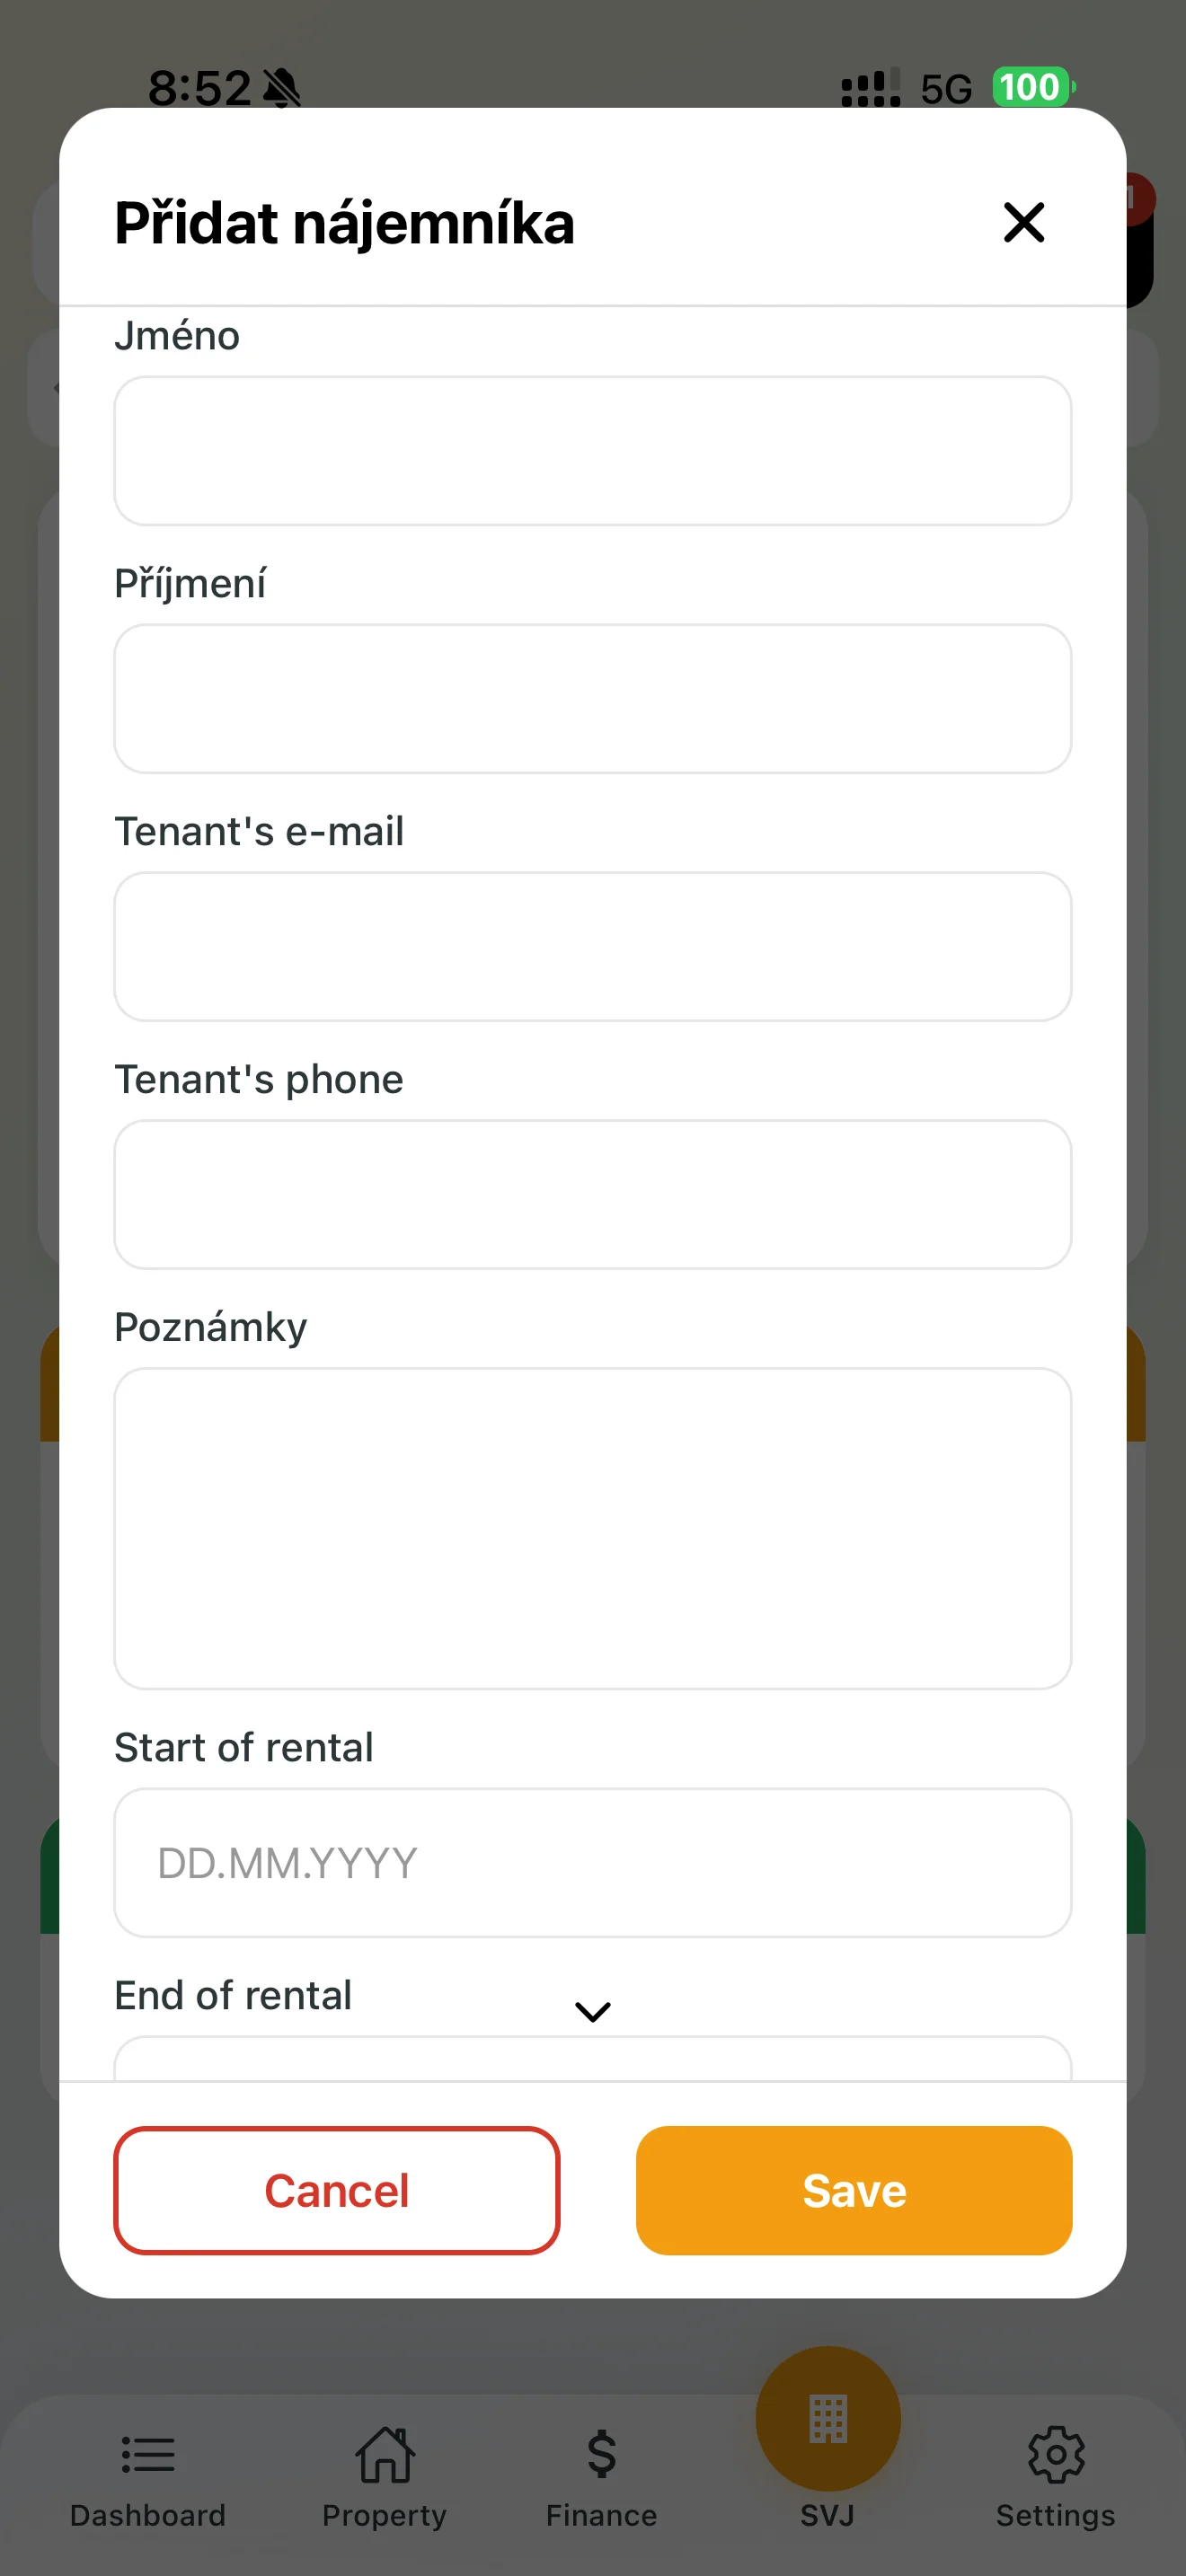
For board purposes (emergencies, property access) a tenant can also be added to a unit:
- In the unit detail tap Add in the Tenants section.
- Fill in the contact details and optionally the lease start and end dates. This information is visible to the board only.
4. Central Owner Database and Exports
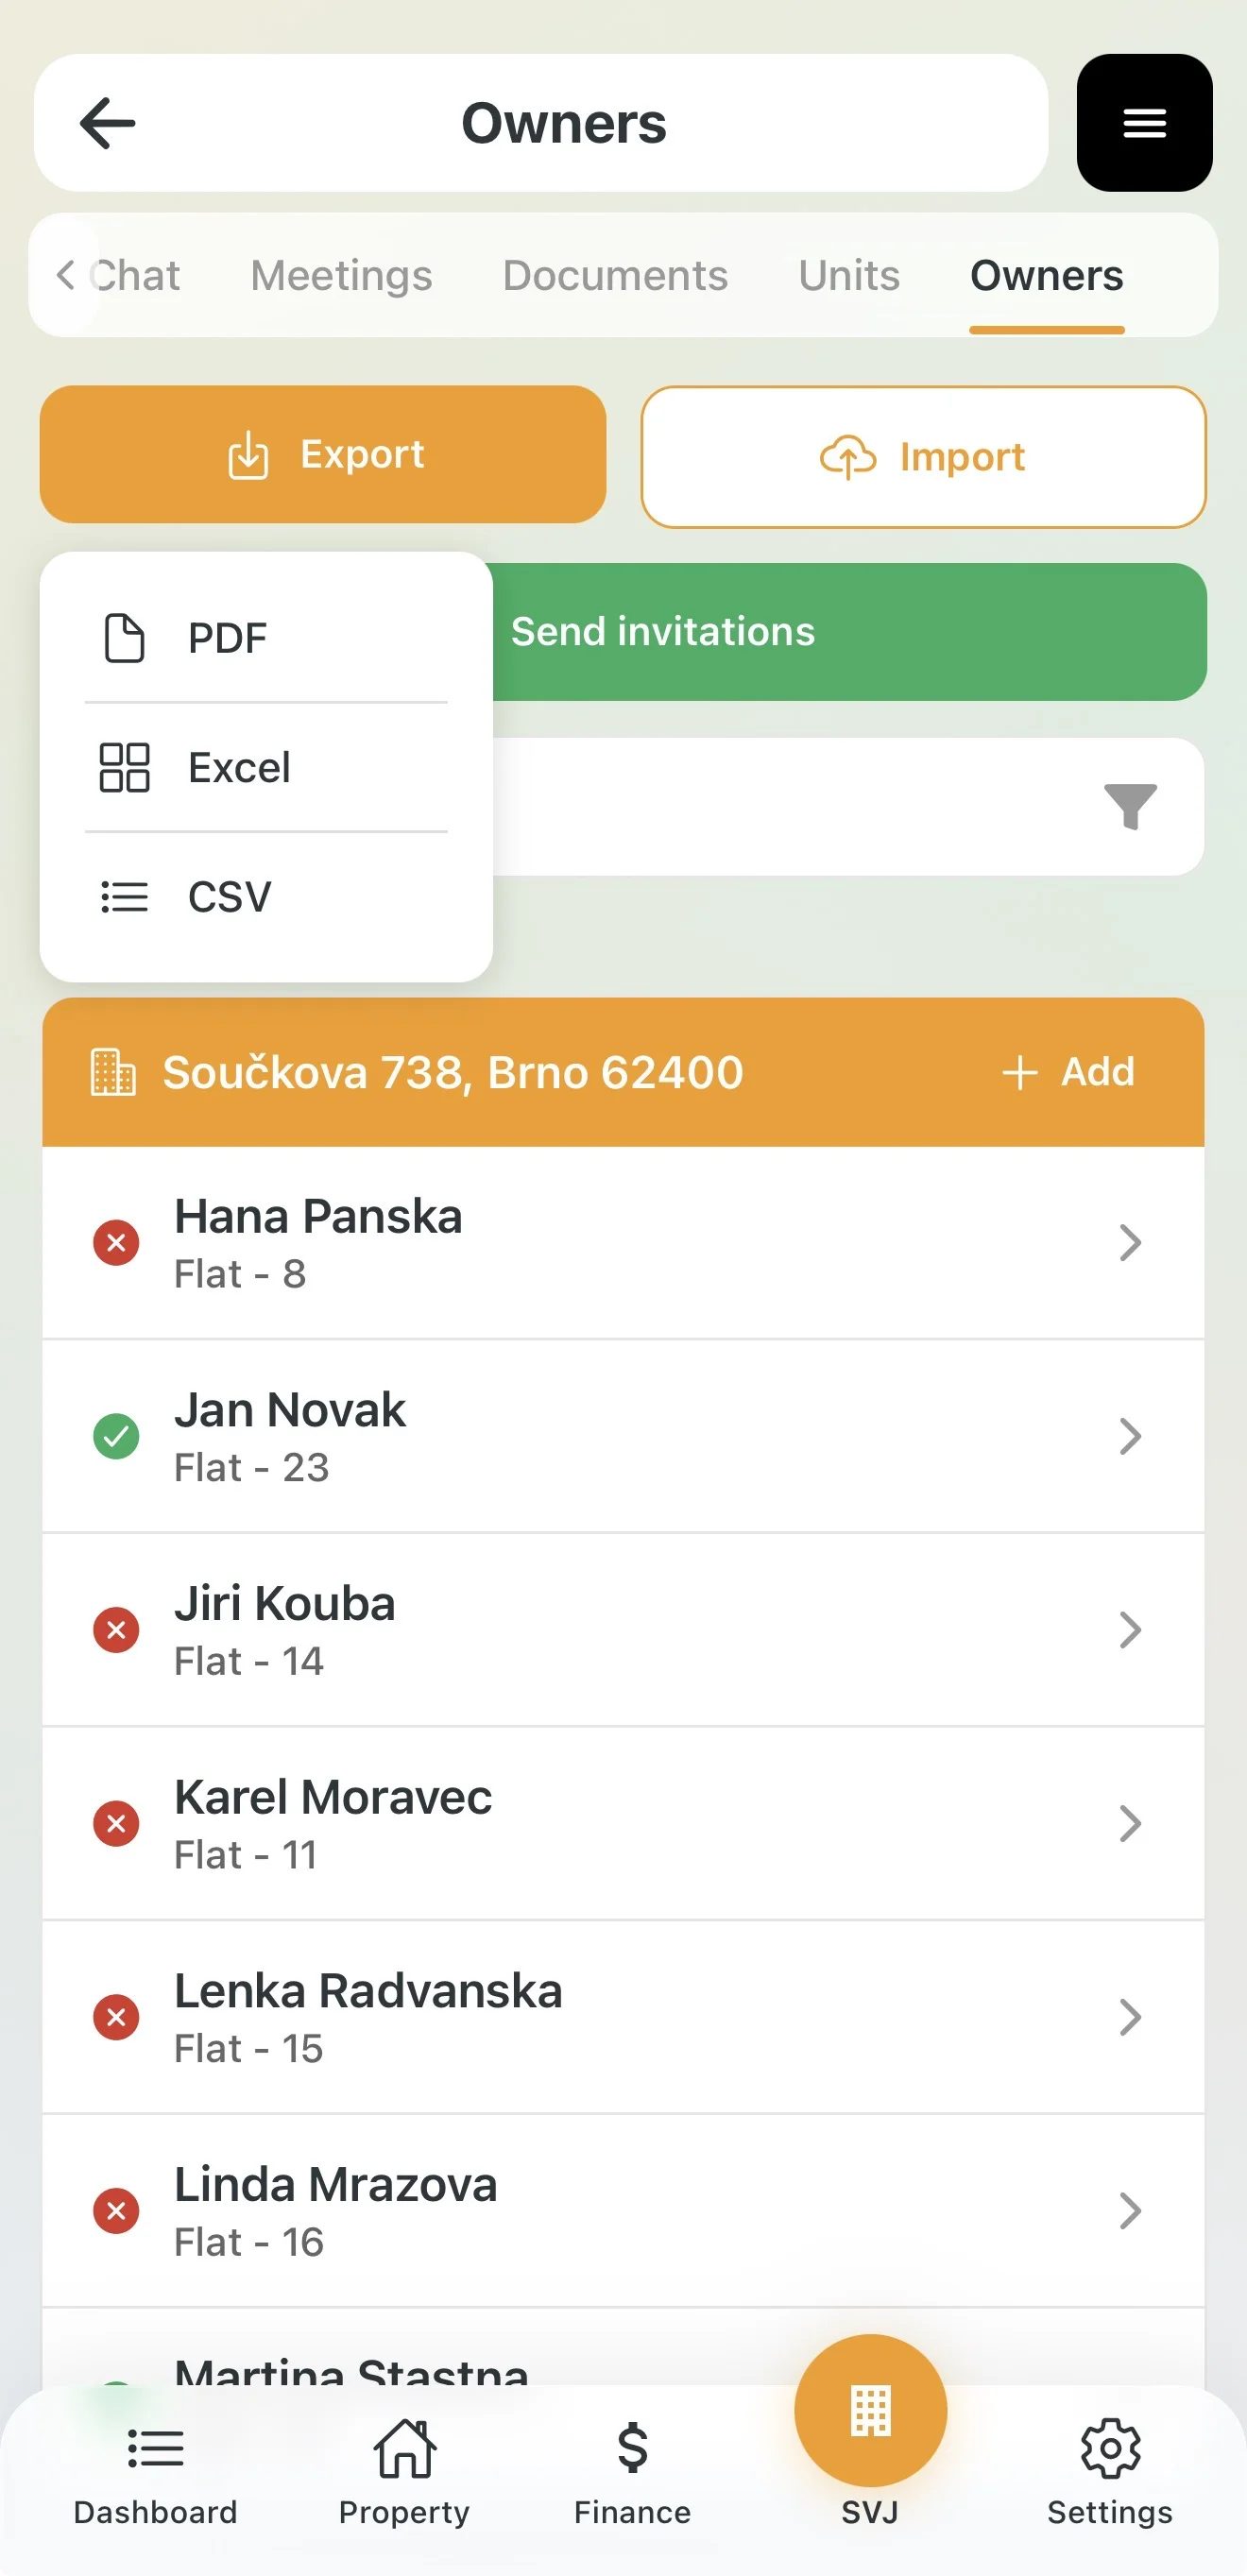
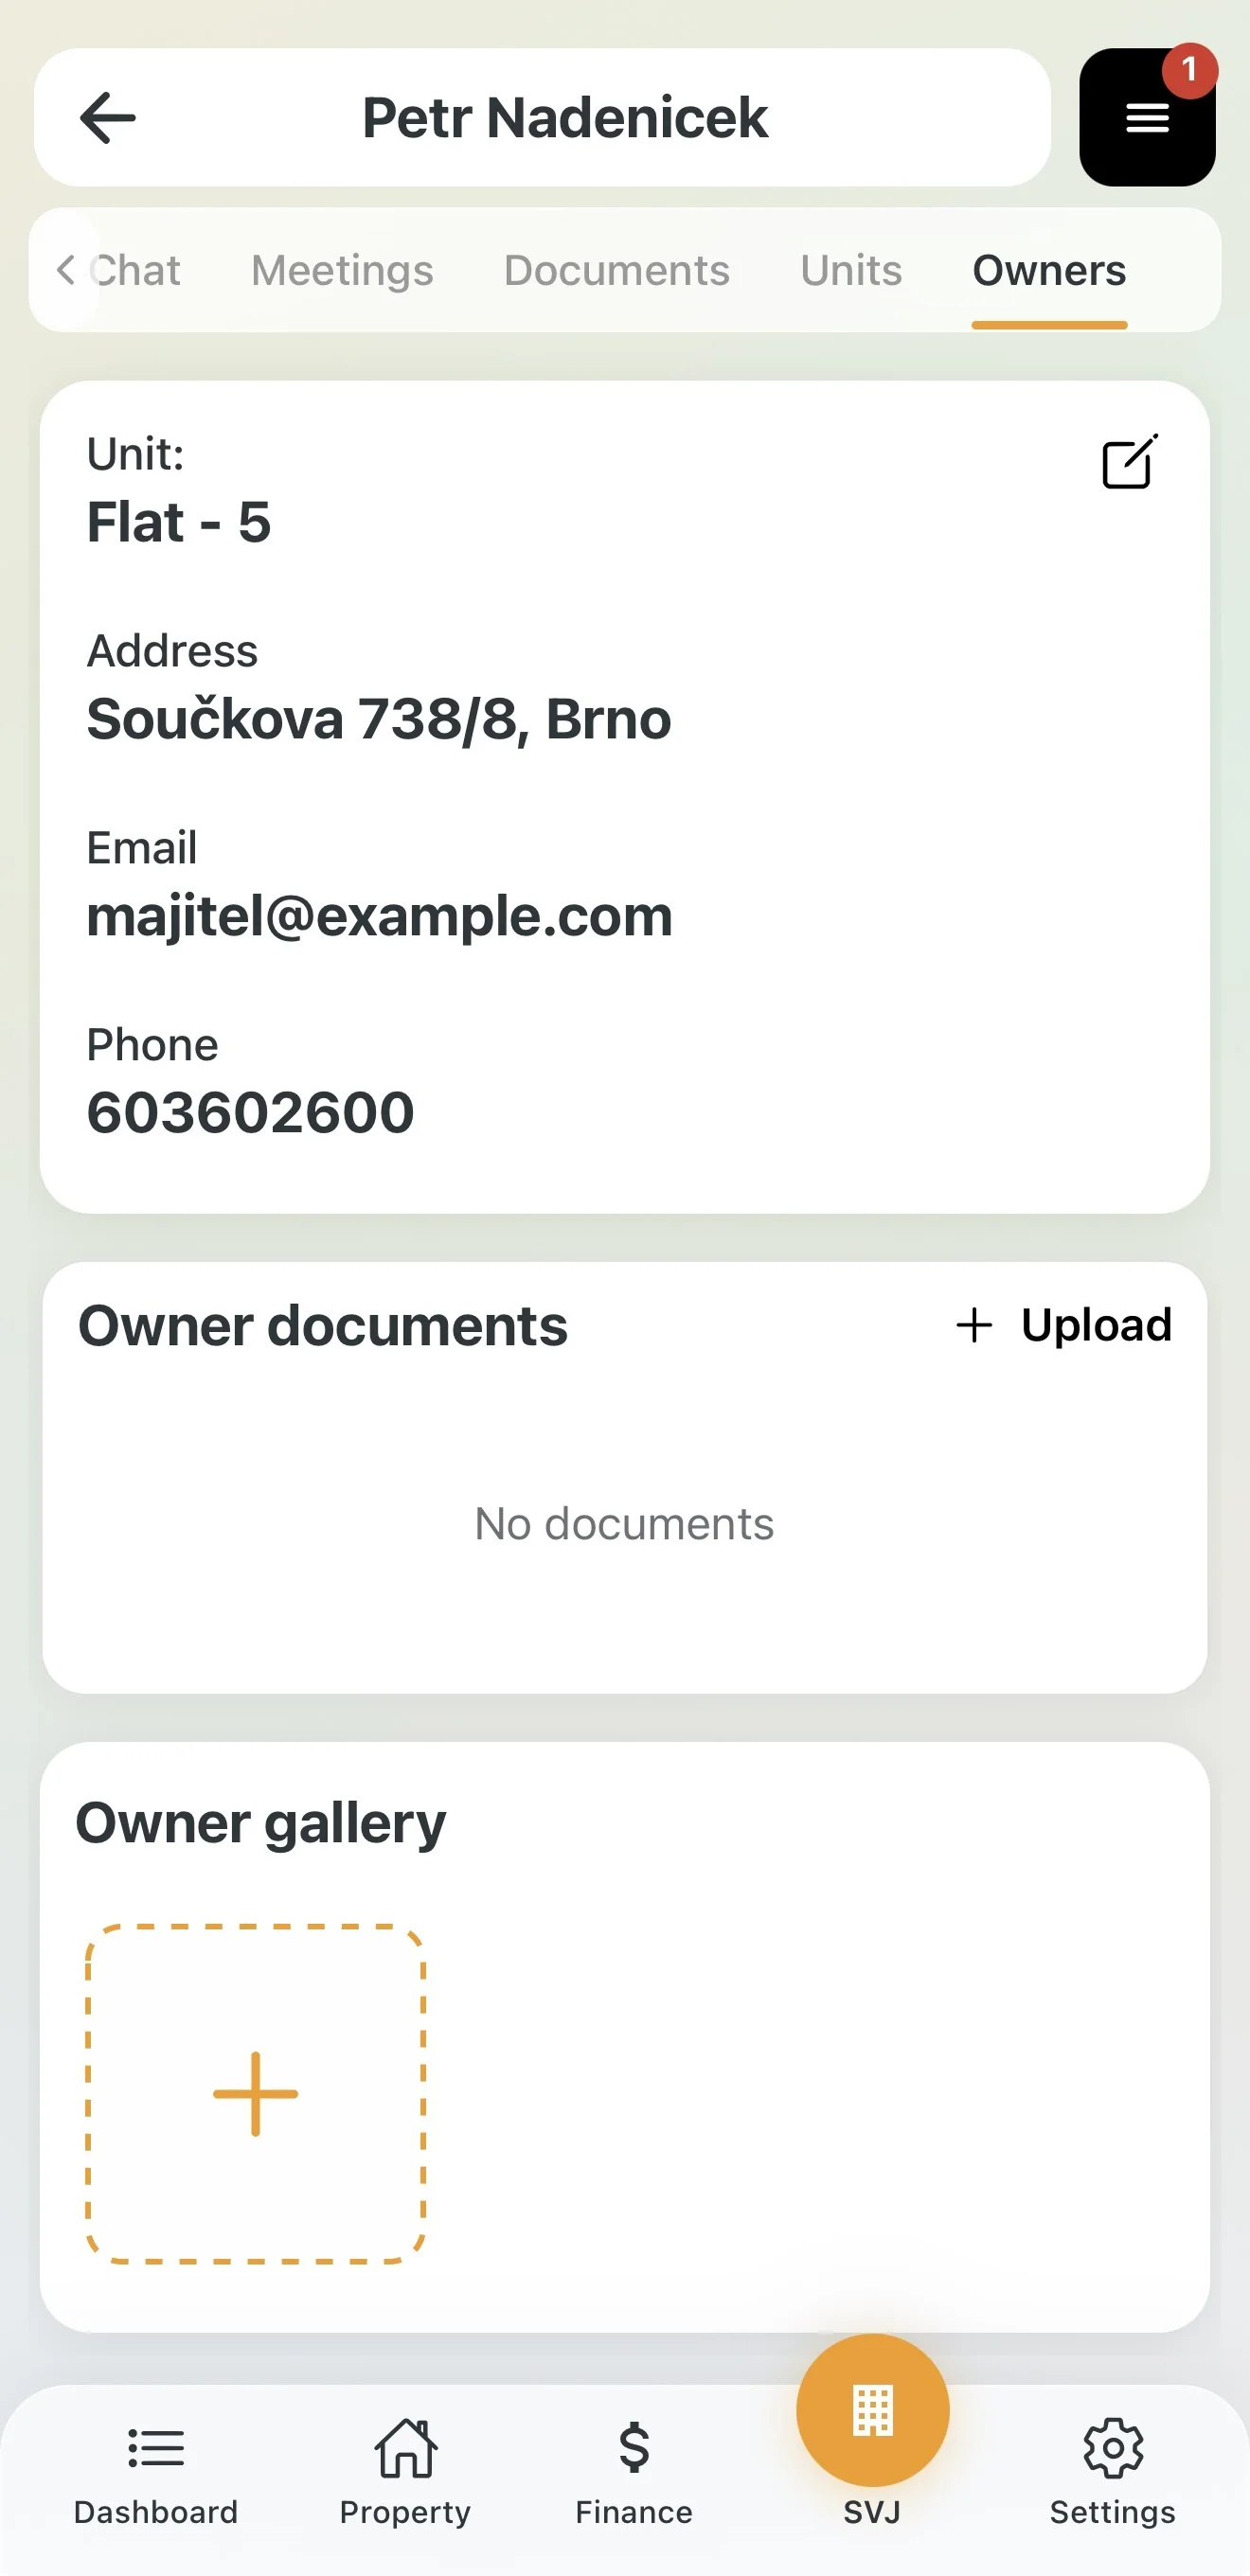
The Owners tab displays all persons in the building in one place.
- Data export: Download the list as PDF, Excel or CSV.
- Bulk import: Export the template, fill in the data in Excel and upload it back.
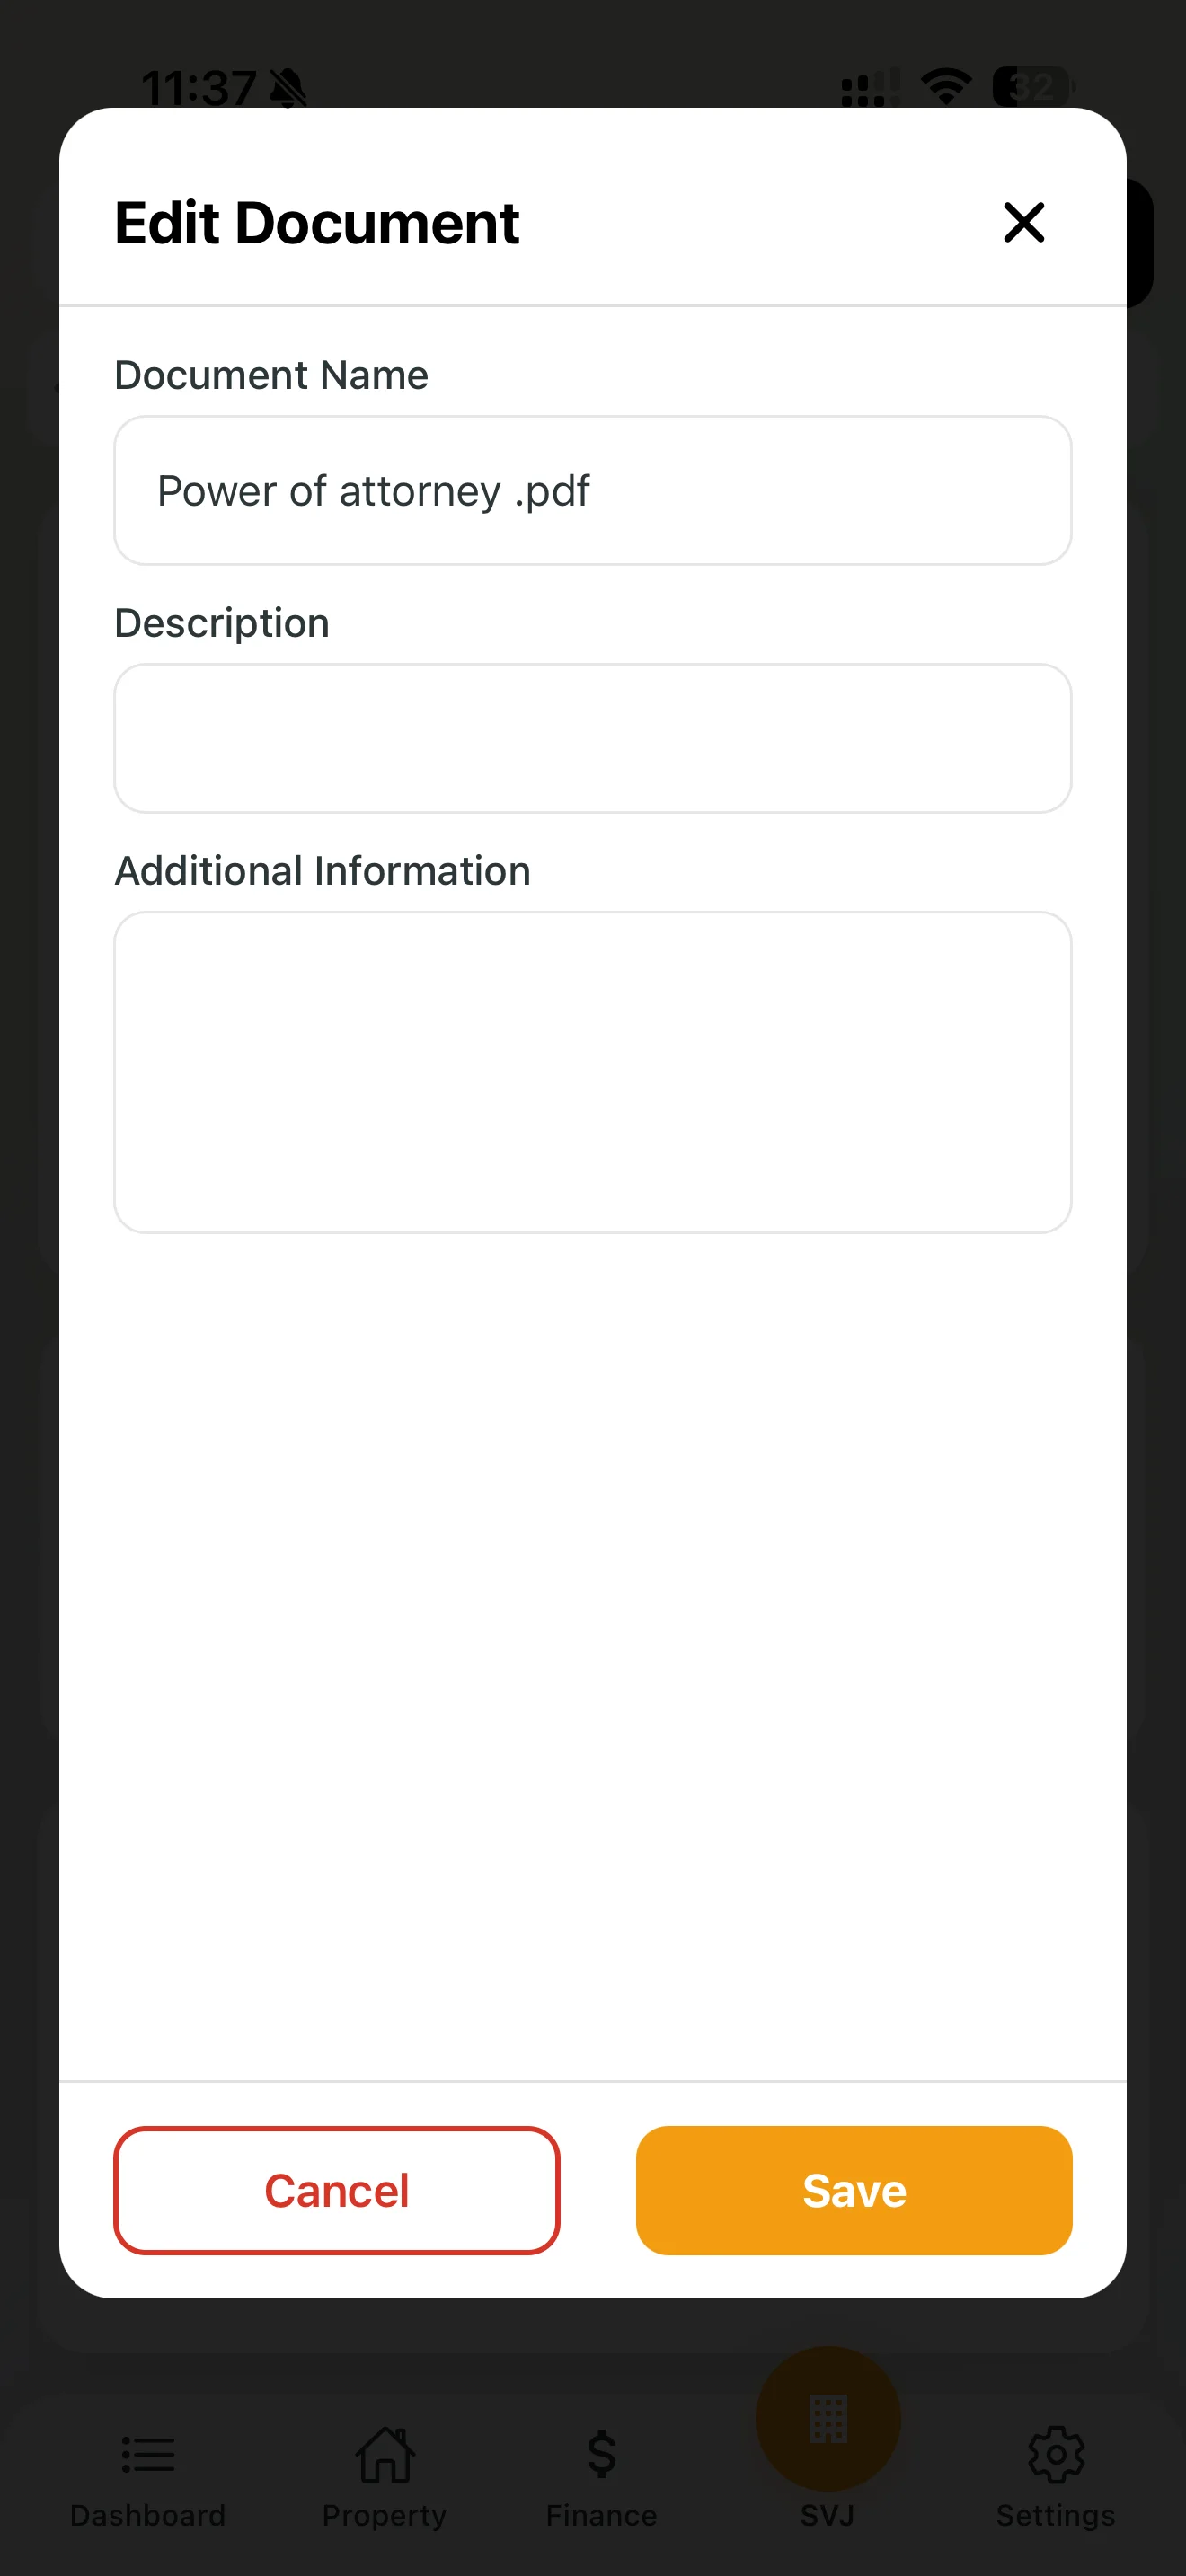
- Person documentation: In the owner detail keep track of specific files — Title deed, lease agreements, etc.
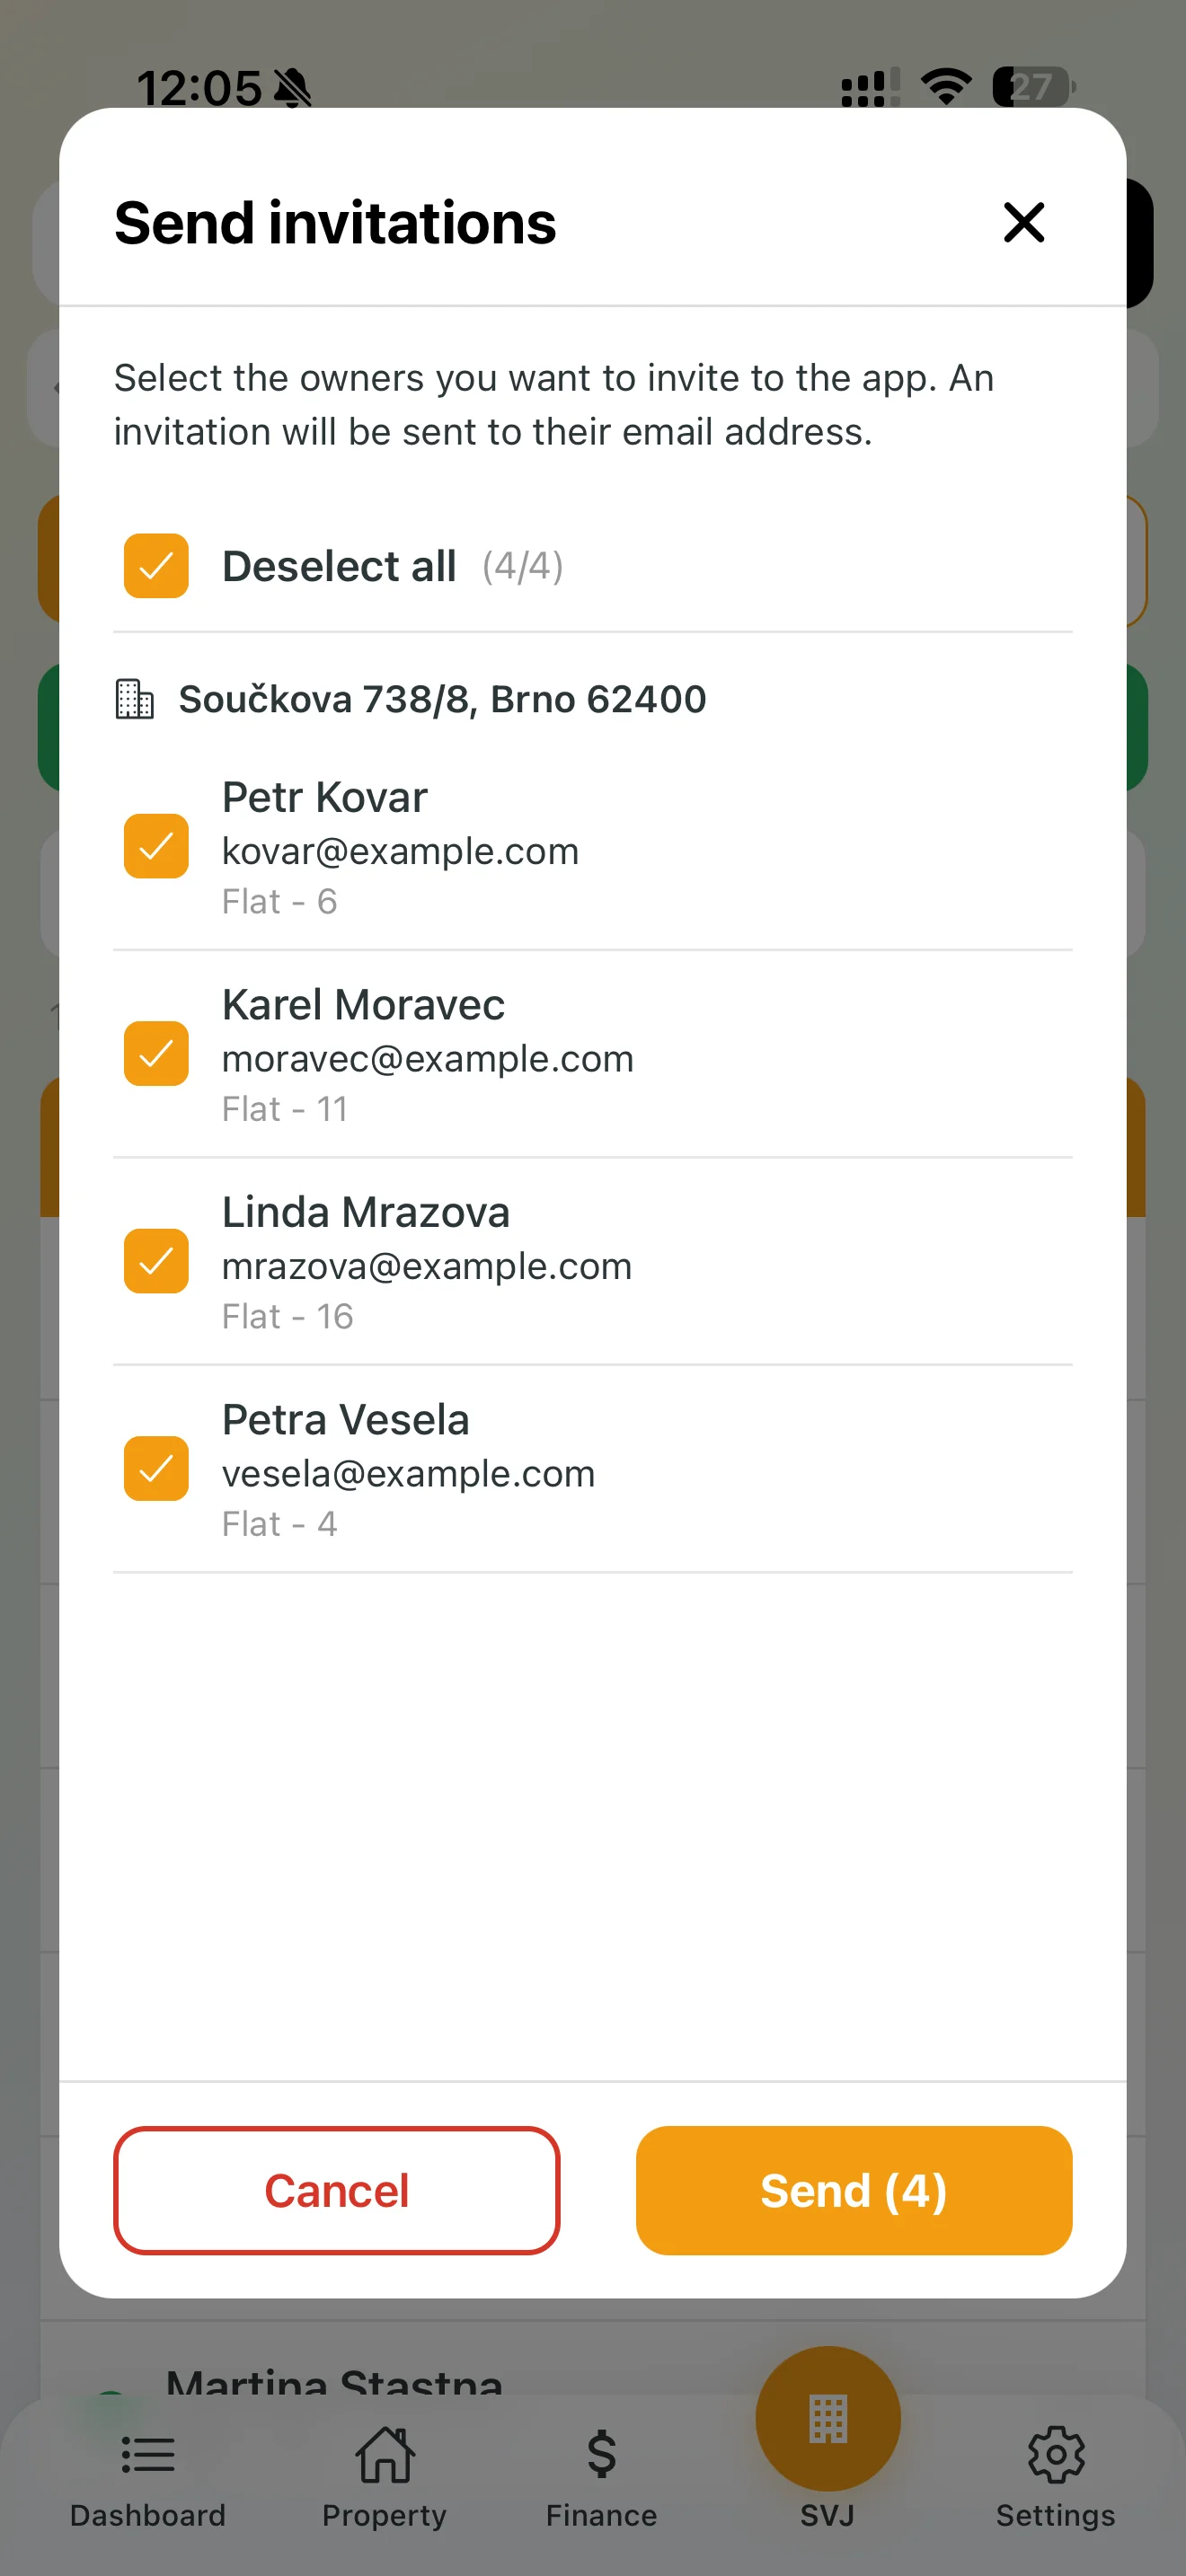
5. User Activation (Invitations)
For owners to start using the app (voting, chatting), send them an invitation:
- Tap the green Send invitations button.
- A list of persons with an email filled in the system is displayed.
- Select recipients and send. Owners receive an email with a link to join your HOA.
Board tip: Swipe left on a name in the list to quickly edit or remove a contact. The gold seal icon marks the shared representative of a unit.